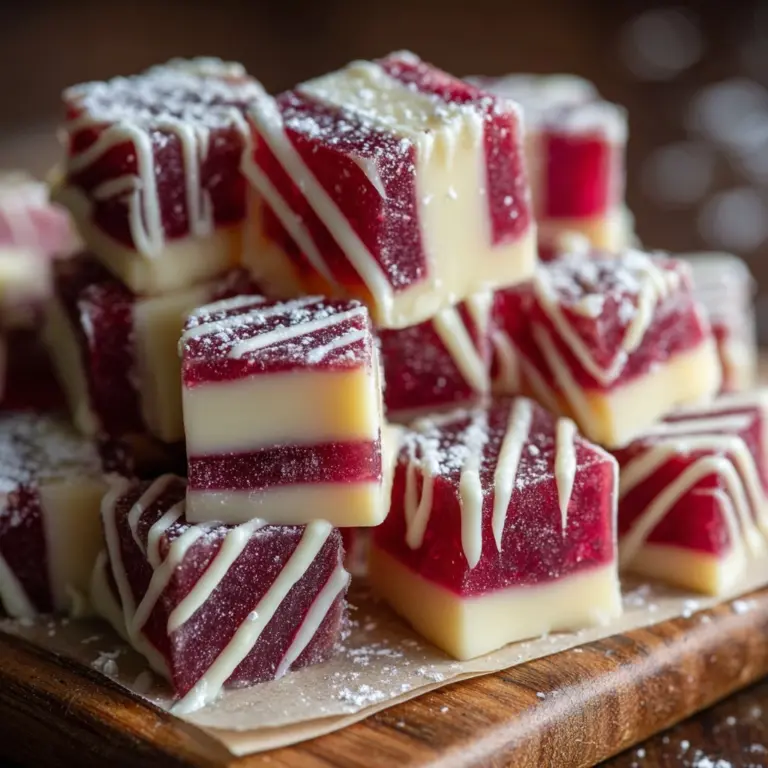
If you are looking for a delightful treat that perfectly balances the cool, invigorating flavor of mint with rich, melty chocolate, this Refreshing Mint Chocolate Chunk Cookies Recipe is an absolute must-try. These cookies come out wonderfully soft and chewy, studded with generous chunks of semi-sweet chocolate and bits of mint chocolate candies that add a surprising crunch and burst of flavor. Whether you need a festive dessert, a sweet pick-me-up, or simply a way to brighten your day, these cookies offer a deliciously refreshing twist on the classic chocolate chip cookie that’s sure to become a beloved favorite.

Ingredients You’ll Need
Gathering the right ingredients is half the fun and ensures the perfect outcome. Each component in this recipe plays a crucial role in giving these cookies their signature chewiness, minty brightness, and irresistible chocolatey goodness.
- 2 ¼ cups all-purpose flour: Provides the structure and soft crumb.
- 1 teaspoon baking soda: Helps the cookies rise just enough for a tender texture.
- ½ teaspoon salt: Enhances all the flavors and balances sweetness.
- 1 cup unsalted butter, softened: Adds richness and moisture for that melt-in-your-mouth feel.
- ¾ cup brown sugar, packed: Infuses warmth and chewiness.
- ½ cup granulated sugar: Pulls in light sweetness and helps cookies crisp at the edges.
- 2 large eggs: Bind everything together and contribute to the cookie’s tender texture.
- 1 teaspoon vanilla extract: Deepens the flavor background for a familiar, comforting note.
- 1 ½ teaspoons peppermint extract: Delivers that unmistakable cooling mint flavor that defines this recipe.
- 1 ½ cups semi-sweet chocolate chunks: For gooey pockets of chocolate bliss.
- ½ cup chopped Andes mints or mint chocolate pieces: Adds texture and bites of minty chocolate surprise.
- Optional: a few drops green food coloring: For a festive pop of color that highlights the mint theme.
How to Make Refreshing Mint Chocolate Chunk Cookies Recipe
Step 1: Prepare Your Oven and Dry Ingredients
Start by preheating your oven to 350°F (175°C) and lining two baking sheets with parchment paper to prevent sticking. In a medium bowl, whisk together the all-purpose flour, baking soda, and salt. This helps distribute the leavening and salty notes evenly so your cookies bake consistently and taste perfectly balanced.
Step 2: Cream the Butter and Sugars
In a large mixing bowl, beat the softened unsalted butter with both the brown sugar and granulated sugar until the mixture looks light and fluffy. This step is key—creaming introduces air into the dough, crafting cookies that are tender yet chewy, with just the right amount of lift.
Step 3: Add Eggs and Flavors
Beat in the eggs one at a time, ensuring each is fully incorporated before adding the next. Then mix in the vanilla and peppermint extracts along with the optional green food coloring. The peppermint extract infuses the dough with that clean, refreshing minty kick that defines the Refreshing Mint Chocolate Chunk Cookies Recipe.
Step 4: Combine Wet and Dry Ingredients
Gradually add the dry flour mixture to the wet ingredients, mixing just until combined. Overmixing is the enemy of tender cookies, so keep it gentle here to maintain that soft texture you’re aiming for.
Step 5: Fold in Chocolates and Mints
Gently fold in the semi-sweet chocolate chunks and chopped mint candies, dispersing those luscious bits evenly throughout the dough. This mixture creates delightful pockets of ooey-gooey chocolate and minty crunch with every bite.
Step 6: Scoop and Bake
Using a tablespoon-sized scoop, portion out the dough onto your prepared baking sheets, spacing each mound about two inches apart to give them room to spread. Bake for 9 to 11 minutes, watching for lightly golden edges while the centers set. This timing yields cookies that are soft and chewy, not dry or overly crispy.
Step 7: Cool and Enjoy
Allow the cookies to cool on the baking sheet for about five minutes to firm up slightly, then transfer them to a wire rack to cool completely. This resting time helps the cookies finish setting without becoming hard, perfect for that signature chewy-soft texture.
How to Serve Refreshing Mint Chocolate Chunk Cookies Recipe

Garnishes
A sprinkle of powdered sugar or a light drizzle of melted dark chocolate can take these cookies to the next level, adding visual appeal and a touch of extra sweetness that complements the mint and chocolate flavors beautifully.
Side Dishes
Pair your cookies with a cold glass of milk, a cup of hot cocoa, or even a peppermint mocha for a themed treat experience. The creamy beverages balance the mint-chocolate richness and make each bite even more indulgent.
Creative Ways to Present
Try stacking the cookies on a festive platter between layers of wax paper, or sandwich two together with a thin layer of mint-flavored buttercream or cream cheese frosting. These presentation ideas make the Refreshing Mint Chocolate Chunk Cookies Recipe a showstopper at parties or as a handmade gift.
Make Ahead and Storage
Storing Leftovers
Keep any leftover cookies in an airtight container at room temperature for up to a week. This method preserves their chewy texture and fresh flavor without drying them out.
Freezing
You can freeze both the dough balls and the baked cookies! For dough, simply scoop onto a baking sheet and freeze until solid, then transfer to a freezer-safe bag for up to three months. Baked cookies freeze well too; just wrap them tightly and thaw at room temperature when ready to enjoy.
Reheating
For that fresh-baked warmth, pop a cookie in the microwave for about 10 seconds or heat briefly in a low-temperature oven. This revives their gooey chocolate goodness and revives that comforting aroma that fills the kitchen.
FAQs
Can I use peppermint oil instead of peppermint extract?
Peppermint oil is more concentrated than extract, so if you choose to use it, start with just a drop or two and adjust carefully to avoid overpowering your cookies. The extract is generally easier to work with for consistent results.
What if I don’t want green food coloring?
The green coloring is purely optional and doesn’t affect flavor. Feel free to skip it if you prefer a more natural look or want the cookies to resemble classic chocolate chip cookies with a mint twist.
Can I substitute Andes mints with another type of mint chocolate?
Absolutely! Other mint chocolates or candies work well here, just chop them into small pieces to ensure they incorporate nicely without making the dough too heavy or uneven.
Are these cookies gluten-free?
This recipe as written uses all-purpose flour, which contains gluten. For gluten-free options, try a 1:1 gluten-free baking flour blend, though results may vary slightly in texture.
How strong is the mint flavor?
The Refreshing Mint Chocolate Chunk Cookies Recipe uses 1 ½ teaspoons of peppermint extract, which gives a noticeable but not overwhelming mint taste. You can adjust the amount to suit your personal preference, starting smaller and tasting the dough as you go.
Final Thoughts
There’s something truly magical about the combination of cool mint and rich chocolate in cookies, and this Refreshing Mint Chocolate Chunk Cookies Recipe has quickly become one of my absolute favorites to bake and share. Whether it’s a cozy afternoon snack or a festive treat to impress guests, these cookies bring joy with every bite. I encourage you to give this recipe a whirl, and watch how it brightens your baking routine and sweetens your day.
Print
Refreshing Mint Chocolate Chunk Cookies Recipe
- Prep Time: 15 minutes
- Cook Time: 10 minutes
- Total Time: 25 minutes
- Yield: 24 cookies
- Category: Dessert
- Method: Baking
- Cuisine: American
- Diet: Vegetarian
Description
These Refreshing Mint Chocolate Chunk Cookies are a delightful treat combining the rich flavors of semi-sweet chocolate chunks with a cool peppermint twist. Soft, chewy, and bursting with minty goodness, these cookies are perfect for holiday gatherings or anytime you want a sweet, refreshing snack.
Ingredients
Dry Ingredients
- 2 ¼ cups all-purpose flour
- 1 teaspoon baking soda
- ½ teaspoon salt
Wet Ingredients
- 1 cup unsalted butter, softened
- ¾ cup brown sugar, packed
- ½ cup granulated sugar
- 2 large eggs
- 1 teaspoon vanilla extract
- 1 ½ teaspoons peppermint extract
- Optional: a few drops green food coloring
Add-ins
- 1 ½ cups semi-sweet chocolate chunks
- ½ cup chopped Andes mints or mint chocolate pieces
Instructions
- Preheat and Prepare Baking Sheets: Preheat your oven to 350°F (175°C) and line two baking sheets with parchment paper to prevent sticking and enable even baking.
- Mix Dry Ingredients: In a medium bowl, whisk together the all-purpose flour, baking soda, and salt to ensure they are well combined and evenly distributed.
- Cream Butter and Sugars: In a large mixing bowl, beat the softened butter, brown sugar, and granulated sugar until the mixture is light and fluffy, which usually takes a few minutes and adds air for a tender cookie.
- Add Eggs and Extracts: Beat in the eggs one at a time, making sure each is fully incorporated before adding the next. Mix in the vanilla extract, peppermint extract, and if desired, a few drops of green food coloring to enhance the festive look.
- Combine Dry and Wet Mixtures: Gradually add the dry ingredients into the wet mixture, mixing gently until just combined to avoid overworking the dough which can make cookies tough.
- Fold in Chocolate and Mint Pieces: Carefully fold in the semi-sweet chocolate chunks and chopped Andes mints or mint chocolates to evenly distribute these flavorful add-ins.
- Shape and Bake Cookies: Scoop tablespoon-sized portions of dough onto the prepared baking sheets, spacing them about 2 inches apart to allow room for spreading. Bake for 9–11 minutes or until the edges are lightly golden and the centers are set but still soft.
- Cool: Let the cookies cool on the baking sheet for 5 minutes to firm up before transferring them to a wire rack to cool completely, ensuring they hold their shape.
Notes
- Adjust the amount of peppermint extract to suit your preference for mint intensity.
- Cookies freeze well; store either dough balls or baked cookies in an airtight container for up to 3 months to maintain freshness.

