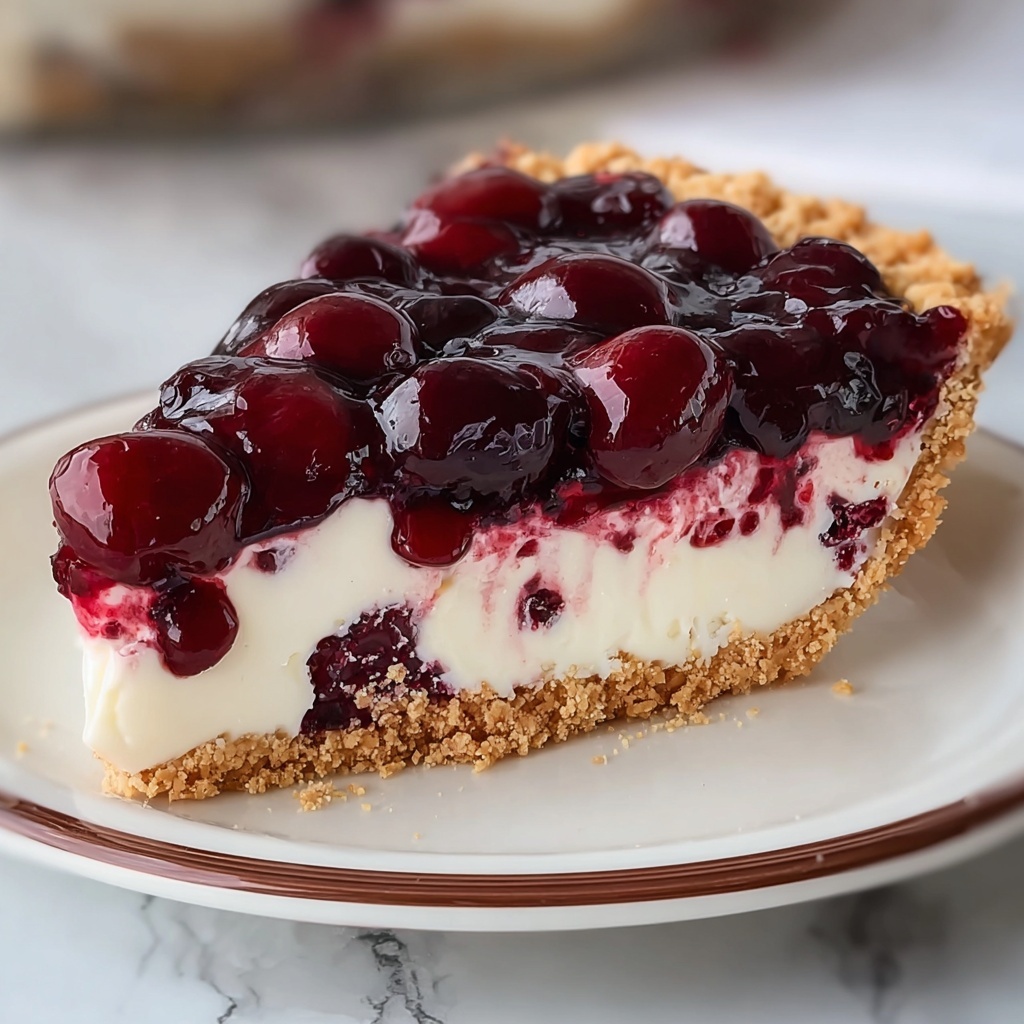
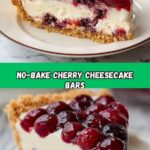
If you are searching for a dessert that captures the sweet, creamy magic of cheesecake without turning on the oven, then this No-Bake Cherry Cheesecake Bars Recipe will become your new best friend. With a buttery graham cracker crust, a luscious tangy cream cheese filling, and the bright pop of cherry pie topping, these bars are effortless to make yet deliver impressive, crowd-pleasing flavor. Whether it’s a casual weeknight treat or a last-minute addition to a holiday spread, these no-bake bars come together quickly and look as delightful as they taste.
Ingredients You’ll Need
These ingredients may be simple, but each plays a vital role in making your No-Bake Cherry Cheesecake Bars Recipe a success, ensuring your dessert is perfectly balanced with texture and flavor.
- Unsalted butter (7 tablespoons, melted): Melts into the graham crackers, binding them to create a crisp crust.
- Graham cracker crumbs (1 ½ cups): The base of your crust, offering that classic, slightly sweet crunch every cheesecake bar needs.
- Granulated sugar (3 tablespoons): Adds just enough sweetness and helps the crust hold together.
- Cream cheese (8 ounces, softened): The star ingredient that brings that smooth, gently tangy richness to the filling.
- Powdered sugar (1 cup): Sweet enough to balance the cream cheese, and smooth in texture for a luscious filling.
- Pure vanilla extract (1 teaspoon): Elevates the filling with a subtle, fragrant warmth that makes every bite more interesting.
- Cool Whip (1 container, 8 ounces): Lightens the cream cheese filling to keep it airy and fluffy.
- Cherry pie filling (1 can, 21 ounces): The crowning glory, adding a burst of fruity sweetness and vibrant color on top.
How to Make No-Bake Cherry Cheesecake Bars Recipe
Step 1: Prepare the Butter
Start by microwaving the unsalted butter for about 30 seconds until fully melted—this will ensure it blends smoothly with the graham cracker crumbs to form your crust.
Step 2: Make the Crust
In a medium bowl, toss together the melted butter, graham cracker crumbs, and granulated sugar. Mix them well until the texture resembles wet sand—this means it’s perfectly moistened and ready to press.
Step 3: Form the Crust Base
Grease an 8×8-inch baking dish with a little butter or cooking spray to prevent sticking. Press the crumb mixture firmly and evenly into the bottom of the dish. Don’t just drop it in—firm pressure is key to ensure a crisp and stable base.
Step 4: Beat the Cream Cheese
Using a large bowl and a mixer or sturdy spoon, whip the softened cream cheese until it’s completely smooth and creamy, free of lumps. This step is crucial for a velvety filling.
Step 5: Add Sweetness and Flavor
Slowly incorporate the powdered sugar and vanilla extract into the cream cheese, mixing thoroughly after each addition until you have a glossy, rich mixture with a balanced sweetness.
Step 6: Fold in the Cool Whip
Gently fold the Cool Whip into your cream cheese mixture, being careful not to overmix—this keeps the filling light and fluffy, adding delightful softness to each bite.
Step 7: Assemble the Bars
Spread the cream cheese mixture evenly over the prepared graham cracker crust. Smooth it out so the surface is level—this will make slicing your bars clean and pretty.
Step 8: Add the Cherry Topping
Gently spoon the cherry pie filling on top of the cream cheese layer, spreading it evenly so every bar gets a generous portion of those juicy, flavorful cherries.
Step 9: Chill to Set
Cover the dish with plastic wrap or aluminum foil, then refrigerate for at least 2 hours—overnight is even better. This chilling time allows each layer to firm up and the flavors to meld beautifully.
Step 10: Slice and Serve
Once fully chilled, carefully slice your No-Bake Cherry Cheesecake Bars Recipe into squares. Serve these cold to enjoy their perfect balance of creamy, crunchy, and fruity goodness.
How to Serve No-Bake Cherry Cheesecake Bars Recipe
Garnishes
To make these bars even more special, try garnishing with a fresh sprig of mint, a light dusting of powdered sugar, or a drizzle of melted chocolate to add an extra dimension of flavor that complements the cherry topping beautifully.
Side Dishes
Serve these cheesecake bars alongside a scoop of vanilla ice cream or a dollop of fresh whipped cream. They pair delightfully with fresh berries or a simple fruit salad to round out the dessert experience with fresh, complementary flavors.
Creative Ways to Present
For a stunning presentation, place your cherry cheesecake bars on a decorative platter and surround them with edible flowers or a few whole cherries. You can also serve them in individual clear cups layered with additional whipped cream for an elegant, portion-controlled treat.
Make Ahead and Storage
Storing Leftovers
Leftover No-Bake Cherry Cheesecake Bars Recipe should be stored in an airtight container in the refrigerator. They will stay fresh and delicious for up to 4 days, making this dessert a great make-ahead option.
Freezing
If you want to keep your cheesecake bars longer, freeze them in a single layer on a baking sheet before transferring to a sealed container. They freeze well for up to 2 months. When you’re ready to enjoy, just thaw them overnight in the fridge.
Reheating
Since these bars are served cold, reheating is not necessary. Instead, simply allow frozen bars to thaw naturally in the refrigerator for the best texture and flavor retention.
FAQs
Can I use fresh cherries instead of canned cherry pie filling?
Absolutely! You can make a quick cherry topping by simmering fresh cherries with a bit of sugar and cornstarch until thickened. This adds a fresh and natural flavor but requires a bit more prep time.
What if I don’t have Cool Whip on hand?
You can substitute Cool Whip with homemade whipped cream or heavy cream whipped to soft peaks. This keeps the filling light and fluffy but use it immediately to avoid it deflating.
Is it possible to make this dessert gluten-free?
Yes! Simply swap the graham cracker crumbs for gluten-free graham crackers or almond flour mixed with a bit of sugar to keep your crust intact and delicious.
How can I prevent the crust from becoming soggy?
Pressing the crust firmly and chilling it before adding the filling helps it set. Also, make sure the filling isn’t too wet; folding in the Cool Whip gently avoids adding excess moisture.
Can I double this recipe for a larger crowd?
Definitely! Just double all the ingredients and use a larger baking dish, such as 9×13 inches. You may need to increase chilling time slightly for proper setting.
Final Thoughts
If you’re looking for an easy, irresistible dessert that impresses without the fuss, I wholeheartedly recommend making this No-Bake Cherry Cheesecake Bars Recipe. It’s a little slice of sweet, creamy heaven that’s perfect for any occasion. Once you try it, I’m sure it will become one of your go-to dessert favorites, too!
Print
No-Bake Cherry Cheesecake Bars Recipe
- Prep Time: 15 minutes
- Cook Time: 0 minutes
- Total Time: 2 hours 15 minutes
- Yield: 9-12 bars
- Category: Dessert
- Method: No-Cook
- Cuisine: American
Description
These No-Bake Cherry Cheesecake Bars are a delicious and easy-to-make dessert featuring a buttery graham cracker crust topped with a smooth, creamy cheesecake layer and vibrant cherry pie filling. Perfect for gatherings or a quick treat, they require no oven time and can be prepared in under 15 minutes, then chilled until set.
Ingredients
Crust
- 7 tablespoons unsalted butter, melted
- 1 ½ cups graham cracker crumbs (about 9 whole crackers)
- 3 tablespoons granulated sugar
Cheesecake Filling
- 8 ounces cream cheese, softened
- 1 cup powdered sugar
- 1 teaspoon pure vanilla extract
- 1 container (8 ounces) Cool Whip
Topping
- 1 can (21 ounces) cherry pie filling
Instructions
- Melt the Butter: Microwave the butter for about 30 seconds or until completely melted, ensuring it’s liquid for easy mixing.
- Prepare the Crust Mixture: In a medium bowl, combine the melted butter, graham cracker crumbs, and granulated sugar, mixing until the texture resembles wet sand, which will allow the crust to hold together once pressed.
- Form the Crust: Grease an 8×8-inch baking dish with butter or cooking spray. Press the crumb mixture firmly and evenly into the bottom of the dish to form a solid crust layer.
- Beat the Cream Cheese: In a large bowl, beat the softened cream cheese until smooth and creamy, creating a perfect base for the filling.
- Add Sugar and Vanilla: Gradually mix in the powdered sugar and vanilla extract until fully combined and smooth, sweetening the cheesecake layer.
- Fold in Cool Whip: Gently fold the Cool Whip into the cream cheese mixture, keeping it light and fluffy for a creamy texture.
- Assemble the Cheesecake Layer: Spread the cream cheese filling evenly over the prepared graham cracker crust, ensuring a uniform layer.
- Add Cherry Topping: Spoon the cherry pie filling evenly over the cream cheese layer to add a fruity finish.
- Chill the Bars: Cover the dish with plastic wrap or aluminum foil and refrigerate for at least 2 hours or overnight to allow the bars to set properly.
- Serve: After chilling, slice the cheesecake into squares and serve cold for a refreshing dessert.
Notes
- For best results, soften the cream cheese to room temperature to avoid lumps.
- Use a spatula or back of a spoon to press the crust firmly and evenly.
- Covering the bars while chilling prevents them from absorbing refrigerator odors.
- The bars can be stored in the refrigerator for up to 3 days.
- If you prefer a stronger cherry flavor, gently stir some of the cherry juice into the cream cheese filling.
