
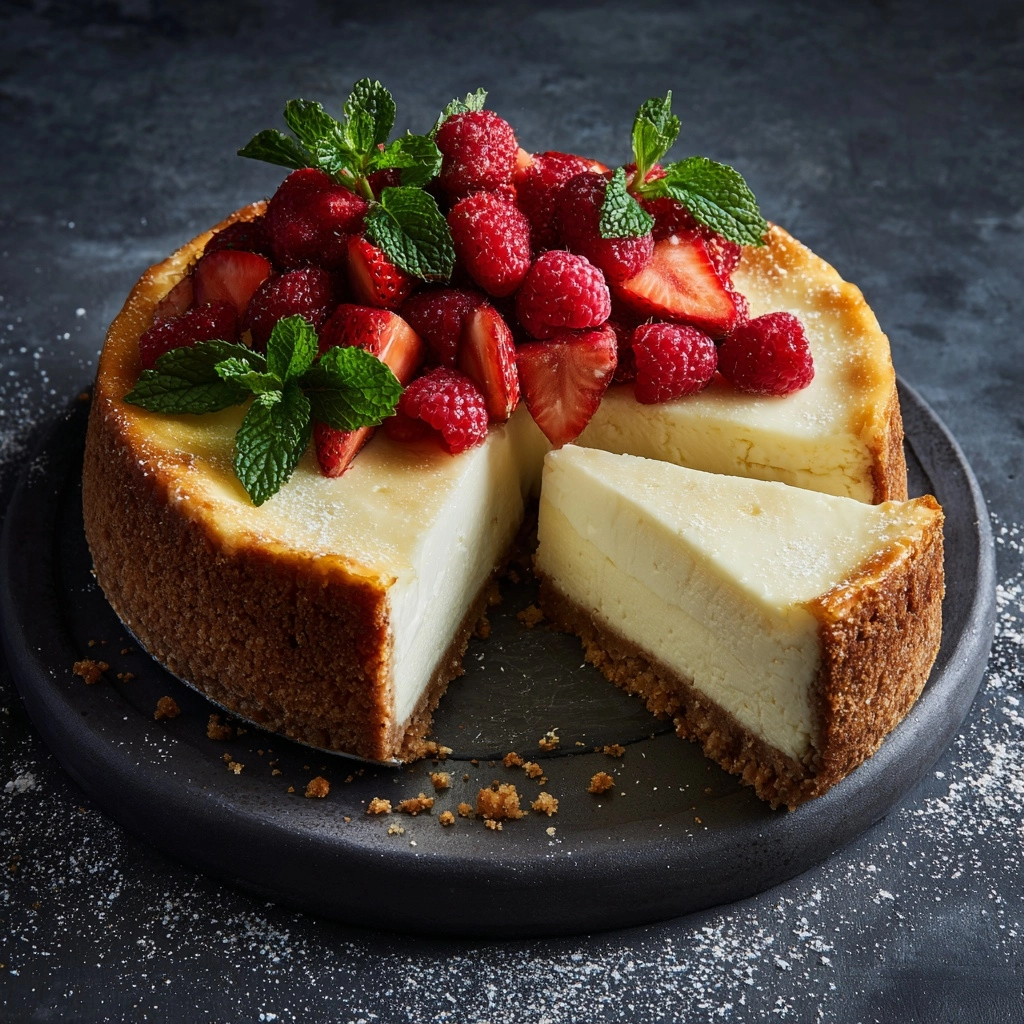
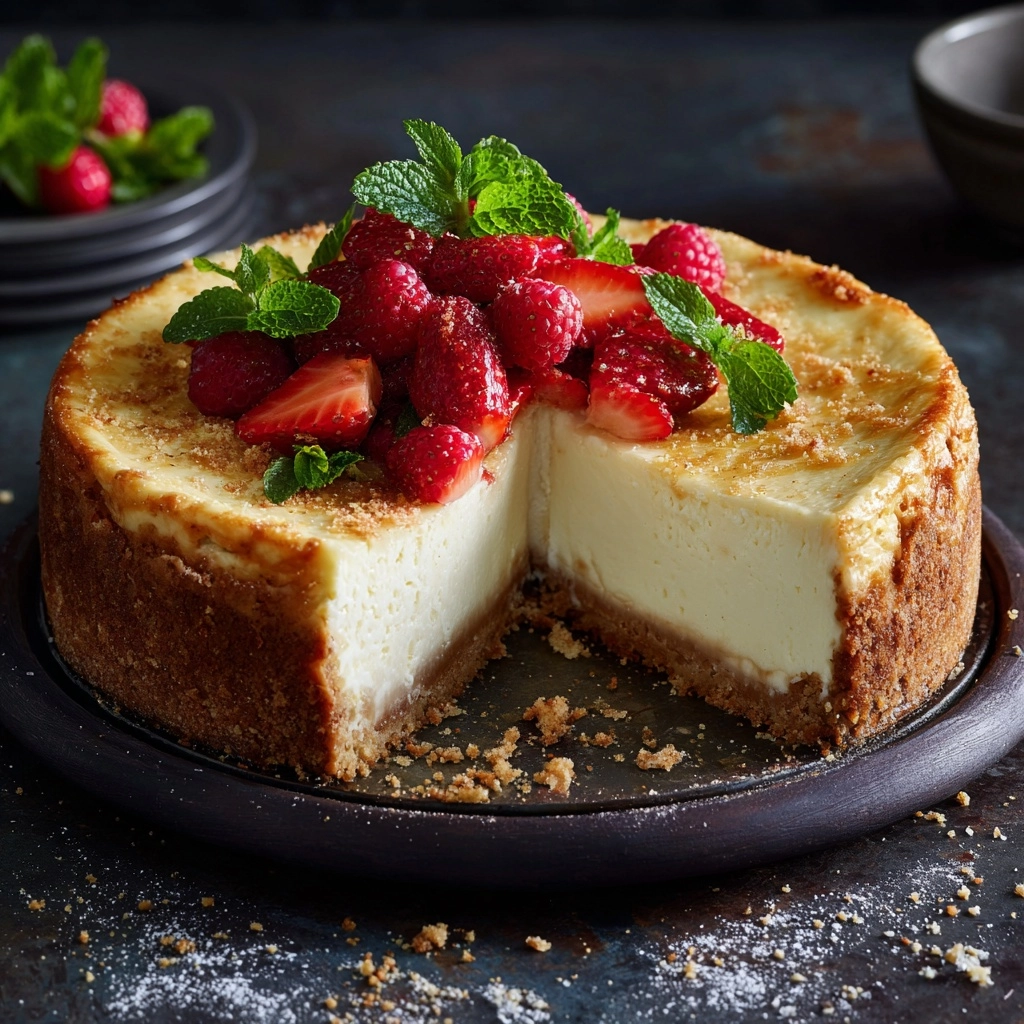
If you’ve ever longed for a dessert that’s cloud-like, delicately sweet, and endlessly satisfying, Japanese Cheesecake delivers all of that and more. This dreamy favorite is famous for its subtle tang and extraordinary texture: it’s lighter than classic cheesecakes, yet rich enough to feel luxurious. Whether you’re a devoted cheesecake aficionado or new to the world of soufflé cakes, this recipe brings all the joy and bounce of Japanese Cheesecake right to your kitchen—no passport required.
Ingredients You’ll Need
Japanese Cheesecake is all about the magic that happens when simple, quality ingredients unite. Each one plays a crucial role—whether it’s ensuring that signature softness, adding gentle tang, or contributing richness and lift. Gather everything ahead of time for the smoothest experience!
- Cream Cheese (7 oz / 200g, softened): The heart of the cake, providing creamy tang and lush body.
- Whole Milk (1/4 cup / 60 ml): Brings smoothness and lightens the texture.
- Unsalted Butter (1/4 cup / 60g): Adds melt-in-your-mouth richness and a subtle sheen.
- Cake Flour (1/2 cup / 65g): Keeps the crumb feather-light—don’t substitute for best results!
- Cornstarch (2 tablespoons / 15g): Gives the cheesecake its ethereal, soufflé lift.
- Salt (1/4 teaspoon): Enhances flavors and balances sweetness.
- Eggs (5 large, separated): Yolks provide richness; whites are whipped into the billowy meringue that makes the cake jiggle.
- Cream of Tartar (1/4 teaspoon): Stabilizes egg whites for a sturdy yet fluffy meringue.
- Granulated Sugar (1/2 cup / 100g): Gently sweetens and helps achieve the perfect souffle rise.
- Powdered Sugar (for dusting, optional): For a classic snowy finish and extra visual appeal.
How to Make Japanese Cheesecake
Step 1: Prepare the Pan and Oven
Begin by preheating your oven to 320°F (160°C). Line the bottom and sides of an 8-inch round cake pan with parchment so your Japanese Cheesecake can lift easily. Wrap the outside with foil—it’s essential for water bath success and keeps your crust beautifully golden, never soggy.
Step 2: Melt Cream Cheese, Butter, and Milk
Set up a double boiler and place cream cheese, butter, and milk in a heatproof bowl on top. Stir gently as everything melds into a silky, lump-free base. Take your time—this step sets the stage for a perfectly smooth cake. Once melted, remove from heat and allow to cool slightly.
Step 3: Combine the Dry Ingredients
Sift cake flour, cornstarch, and salt directly into the cooled cheese mixture. Sifting ensures you get the ultimate fine, tender crumb. Whisk until the ingredients disappear into a glossy, pale batter.
Step 4: Add Egg Yolks
Add the egg yolks one at a time, whisking after each so the batter stays luxuriously creamy. At this stage, the base will already look invitingly rich and soft.
Step 5: Whip the Egg Whites
In a clean, grease-free bowl, beat your egg whites with the cream of tartar until they’re foamy. Now gradually drizzle in the sugar, beating all the while, until you’ve got soft peaks: satiny, shiny, and just firm enough to hold their shape. This step is crucial for that signature Japanese Cheesecake fluffiness.
Step 6: Fold Meringue into the Batter
Now, gently fold the whipped whites into the cream cheese base in three additions. Work lightly, using sweeping motions—your patience rewards you with the cake’s iconic jiggle and lift. The goal is to keep as much air in the batter as possible for maximum fluff.
Step 7: Bake in a Water Bath
Pour your finished batter into the lined pan. Place this pan into a larger baking dish and add hot water to come halfway up the sides. Slide the whole thing into the oven and bake for 60 to 70 minutes, until the top is lightly golden and the cheesecake is just set in the center (a slight wobble is perfect!).
Step 8: Cool Gradually and Serve
Once baked, turn off the oven and prop open the door just a crack. Let your Japanese Cheesecake cool inside for 15 minutes—this prevents shrinkage and keeps the delicate crumb intact. When it’s completely cool, remove from the pan and dust with powdered sugar if desired. Take a moment to admire your gently jiggling masterpiece!
How to Serve Japanese Cheesecake
Garnishes
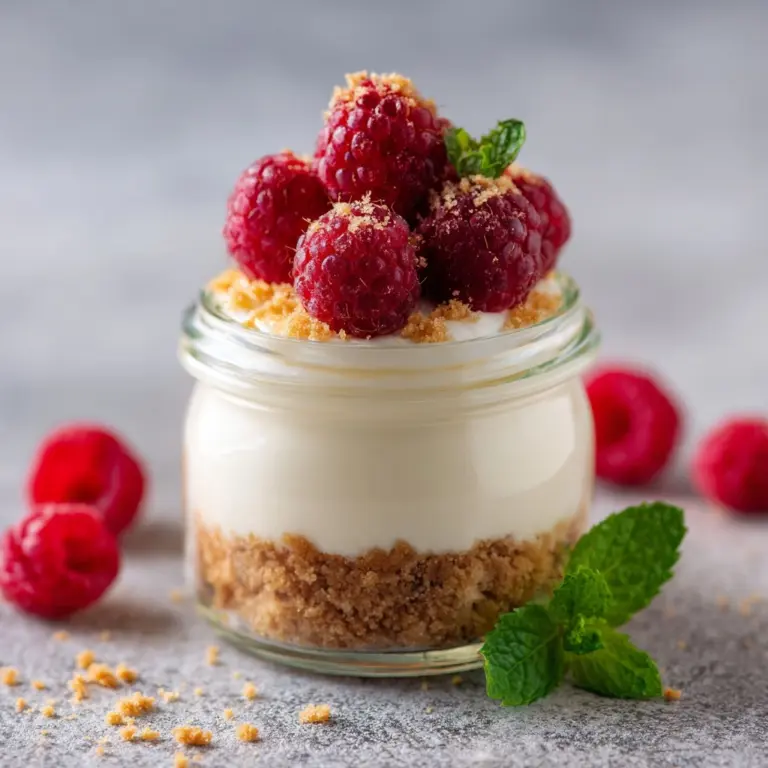
A simple dusting of powdered sugar is classic and highlights the cheesecake’s pillowy surface. For a fun upgrade, add a few fresh berries, a sprig of mint, or even a whisper of citrus zest for zing. Each garnish enhances the visual and taste appeal without masking the cake’s delicate flavors.
Side Dishes
This Japanese Cheesecake shines alongside light accompaniments. Try pairing with a tangy berry compote, a small scoop of matcha ice cream, or even some sliced seasonal fruits. Each side brings out the cake’s creamy, subtle complexity—never overwhelming it.
Creative Ways to Present
Elevate your presentation by slicing the cheesecake into perfect triangles and serving each piece on a charming dessert plate. For parties, cut the cake into cute squares and serve as bite-sized treats. A drizzle of raspberry sauce, edible flowers, or a light dusting of yuzu powder can transform your Japanese Cheesecake into a showstopper for any occasion.
Make Ahead and Storage
Storing Leftovers
Once your Japanese Cheesecake has cooled completely, cover it tightly and refrigerate. It will stay fresh and fluffy for up to three days. The flavor often deepens as it sits, so a day-two slice can taste even better than the first!
Freezing
To extend its life, Japanese Cheesecake can be frozen. Slice it and wrap each piece individually in plastic wrap, then place all pieces in a freezer bag. Thaw overnight in the fridge before serving—the texture remains surprisingly light and lovely.
Reheating
While best enjoyed chilled or at room temperature, you can bring your cheesecake to room temp by letting it sit out for 30 minutes before serving. Avoid microwaving, as this may affect the delicate souffle-like structure.
FAQs
Why is my Japanese Cheesecake not fluffy or jiggly?
The key to achieving that iconic light and airy texture lies in properly whipping the egg whites and gently folding them into the batter. Over-mixing can deflate the meringue, resulting in a dense cake. Use a light hand and don’t rush the folding process!
Can I use all-purpose flour instead of cake flour?
For the best texture, stick with cake flour—it has a lower protein content and ensures the crumb stays fine and bouncy. In a pinch, you can substitute, but the cake may turn out a bit denser.
What’s the purpose of the water bath?
The gentle, steamy environment created by a water bath helps Japanese Cheesecake rise evenly and prevents cracks. It also ensures a moist, ultra-tender crumb—don’t skip this step for true soufflé magic.
How can I tell when the cheesecake is done baking?
The top should be lightly golden and the center just set with a slight wobble—think of the cheerful jiggle that makes Japanese Cheesecake so famous. Don’t wait for it to become fully firm in the oven, as it continues to set as it cools.
Do I really need to chill the cheesecake before serving?
Yes! Chilling allows the flavors to meld and the texture to fully firm up. Japanese Cheesecake is delightful straight from the fridge or after resting at room temperature for a short while, but don’t serve it warm for the sake of its signature soufflé feel.
Final Thoughts
Making Japanese Cheesecake at home is an experience worth savoring—each bite is impossibly soft, subtly tangy, and a real celebration of simple ingredients. If you’ve never tried baking this unique dessert before, now is the perfect moment to give it a whirl. Your friends and family will thank you for every airy, jiggly slice!
Print
Japanese Cheesecake Recipe
- Prep Time: 25 minutes
- Cook Time: 1 hour 10 minutes
- Total Time: 1 hour 35 minutes
- Yield: 8 servings
- Category: Dessert
- Method: Baking
- Cuisine: Japanese
- Diet: Vegetarian
Description
This Japanese Cheesecake recipe creates a light, fluffy, and delicately sweet dessert that will impress your guests. With a jiggly, soufflé-like texture, this cheesecake is a delightful treat for any occasion.
Ingredients
Cheesecake Batter:
- 7 oz (200g) cream cheese, softened
- 1/4 cup (60 ml) whole milk
- 1/4 cup (60g) unsalted butter
- 1/2 cup (65g) cake flour
- 2 tablespoons (15g) cornstarch
- 1/4 teaspoon salt
- 5 large eggs, separated
- 1/4 teaspoon cream of tartar
- 1/2 cup (100g) granulated sugar
Additional:
- Powdered sugar for dusting (optional)
Instructions
- Preheat the oven: Preheat the oven to 320°F (160°C). Grease and line an 8-inch round cake pan with parchment paper, and wrap the pan with foil for a water bath.
- Prepare the batter: Melt cream cheese, butter, and milk in a double boiler. Once smooth, remove from heat. Sift in flour, cornstarch, and salt. Whisk in egg yolks.
- Whip egg whites: In a clean bowl, beat egg whites with cream of tartar and sugar until soft peaks form.
- Combine the mixtures: Gently fold egg whites into the cream cheese mixture. Pour batter into the pan.
- Bake: Place the pan in a larger dish with water. Bake for 60–70 minutes until set and golden.
- Cool and serve: Let the cake cool in the oven with the door slightly open. Chill before serving, dust with powdered sugar if desired.
Notes
- For best results, use cake flour for a light texture.
- Chill the cake before serving for the best taste and texture.
Nutrition
- Serving Size: 1 slice
- Calories: 180
- Sugar: 14g
- Sodium: 140mg
- Fat: 12g
- Saturated Fat: 7g
- Unsaturated Fat: 4g
- Trans Fat: 0g
- Carbohydrates: 15g
- Fiber: 0g
- Protein: 5g
- Cholesterol: 120mg


