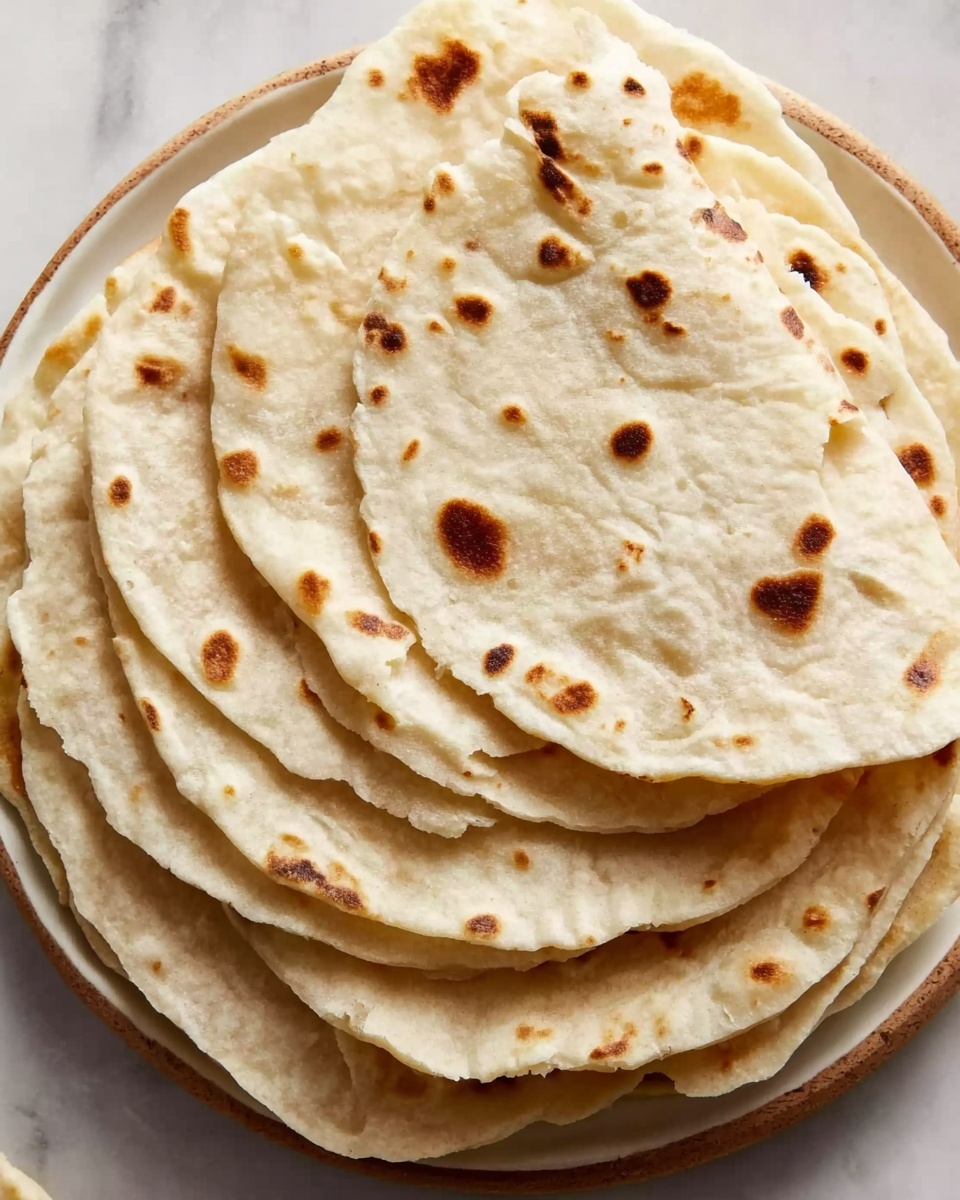
If you have ever dreamed of biting into warm, soft, and perfectly tender tortillas straight from your kitchen, this Homemade Tortillas from Scratch Recipe is exactly what you need. Nothing beats the simple pleasure of making your own tortillas that fill your home with a delightful aroma and taste lovingly crafted warmth in every fold. With just a few pantry staples and minimal effort, you can create fresh tortillas that elevate tacos, wraps, or any meal into something truly special and unforgettable.
Ingredients You’ll Need
All it takes to make these tortillas taste amazing are a handful of simple ingredients, each playing a crucial role in creating that perfect texture and flavor balance. From flour providing structure to butter adding a rich softness, every ingredient works together harmoniously.
- 2 cups all-purpose flour: The base of your dough, offering structure and the right chewiness.
- 1/2 teaspoon salt: Enhances the flavor, bringing out the subtle notes in the flour and butter.
- 2 tablespoons unsalted butter: Adds richness and creates a tender bite by coating the flour proteins.
- 3/4 cup warm water: Hydrates the dough gently, helping the gluten develop without toughness.
How to Make Homemade Tortillas from Scratch Recipe
Step 1: Mix the Dry Ingredients
Begin by combining the all-purpose flour and salt in a large mixing bowl. This simple step ensures that the seasoning is evenly distributed in every tortilla, laying the foundation for their enjoyable flavor.
Step 2: Cut in the Butter
Next, add the unsalted butter to the flour mixture and use your fingers or a pastry cutter to work the butter into the dry ingredients until it resembles coarse crumbs. This process is key to a tender tortilla, as the butter coats the flour creating that melt-in-your-mouth texture.
Step 3: Add Water and Form Dough
Gradually pour in the warm water, stirring gently as you go to bring the dough together. Once the mixture starts to form, knead the dough lightly on a clean surface until it feels smooth and soft. This kneading step activates the gluten just right for pliable tortillas that won’t crack.
Step 4: Divide the Dough
Divide the dough into 8 equal portions and roll each into a ball. Doing this ensures your tortillas are consistently sized, perfect for even cooking and beautiful presentation.
Step 5: Roll Out the Tortillas
On a floured surface, use a rolling pin to flatten each dough ball into a thin circle about 6 to 8 inches in diameter. The thickness here matters — aim for something thin enough to cook quickly but thick enough to hold your favorite fillings.
Step 6: Cook the Tortillas
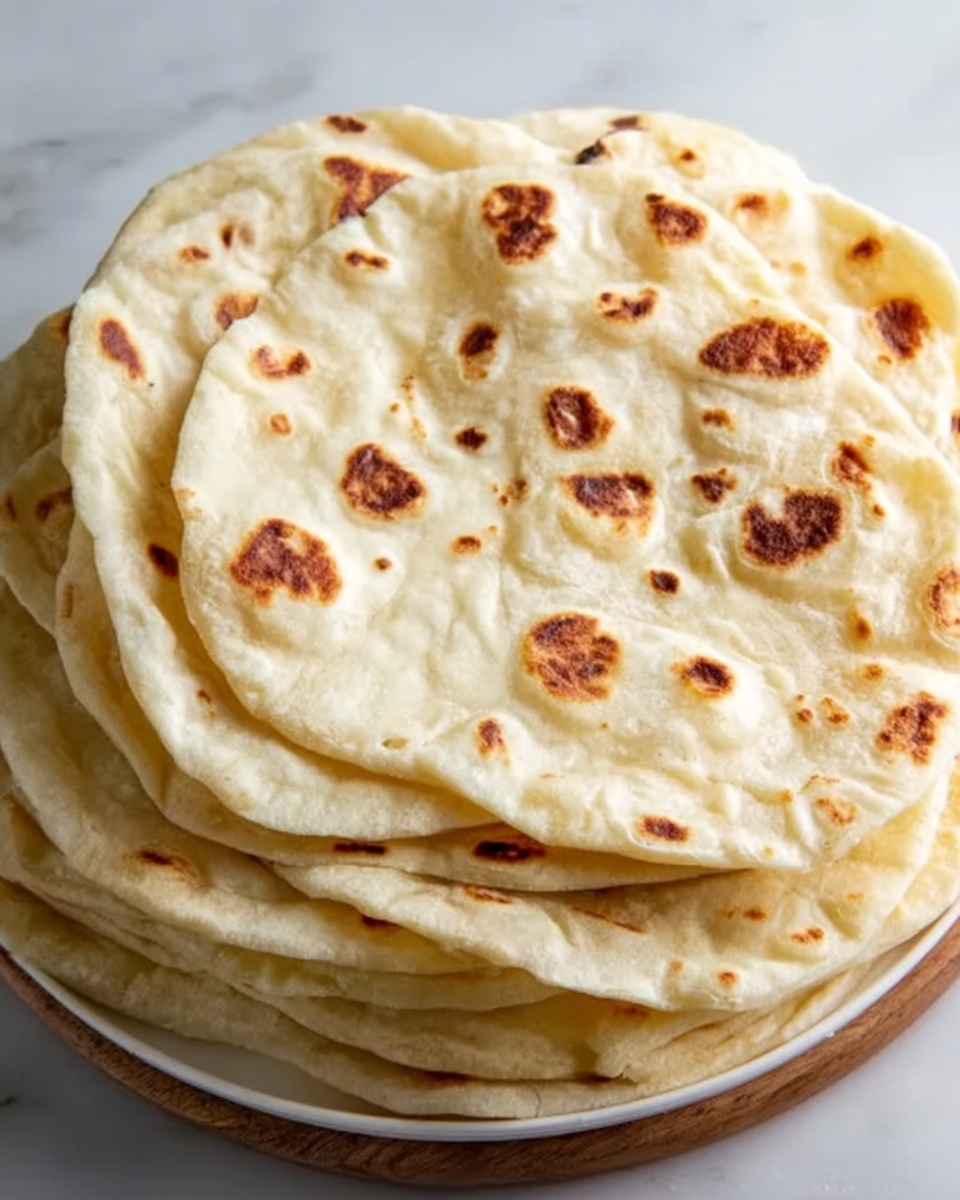
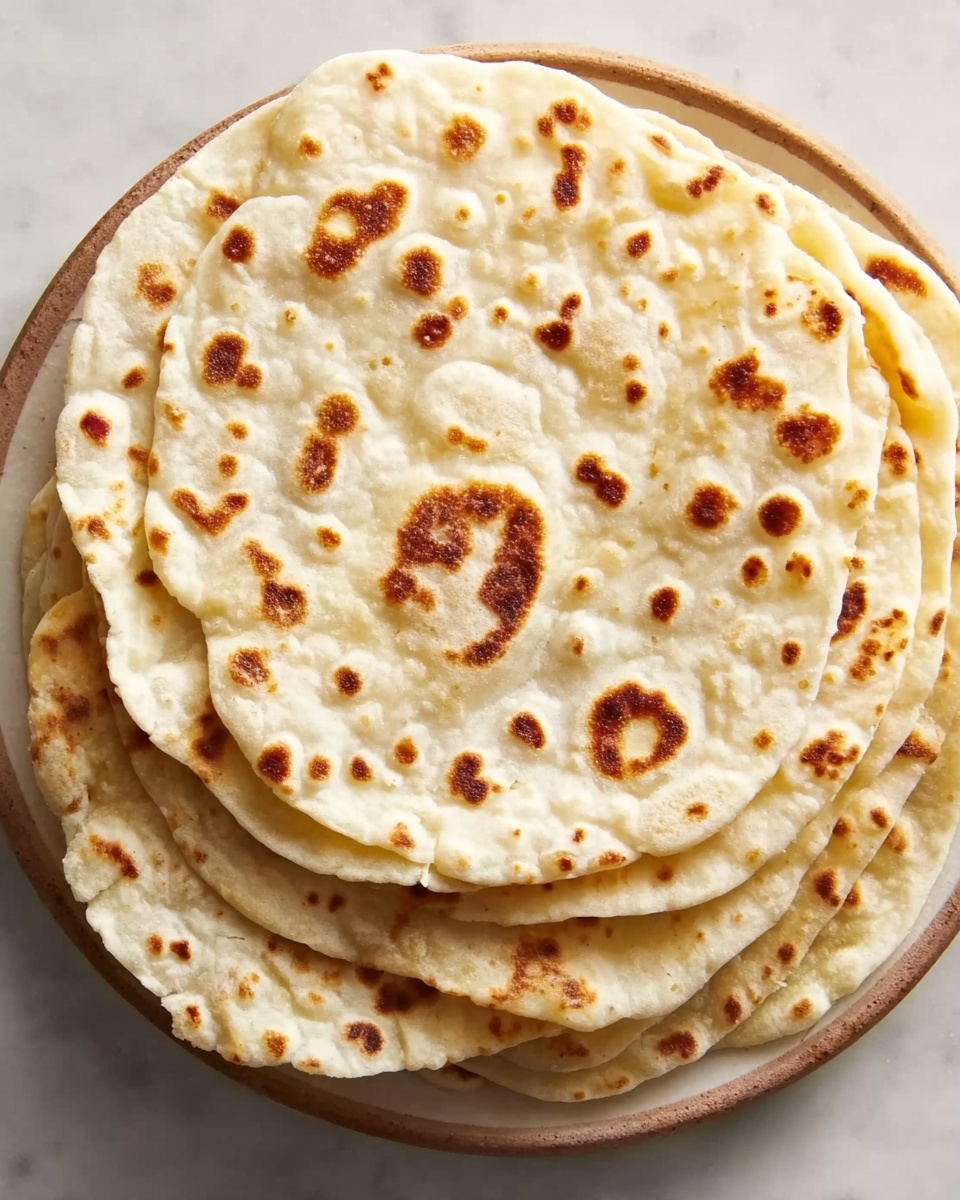
Heat a dry skillet over medium heat. Cook each tortilla for 1 to 2 minutes per side until they develop golden brown spots and puff slightly. This quick cooking locks in softness while giving you the classic tortilla look and taste.
Step 7: Serve Warm
Once cooked, serve your homemade tortillas warm and fresh. They’re incredibly versatile, ideal for anything from tacos and burritos to wraps or just dipping into salsa.
How to Serve Homemade Tortillas from Scratch Recipe
Garnishes
Nothing complements a homemade tortilla better than fresh garnishes. Consider topping with freshly chopped cilantro, a squeeze of lime, or a sprinkle of smoky chili powder to enhance every bite and bring bright, fresh flavor notes to your dish.
Side Dishes
Pair your tortillas with hearty side dishes such as refried beans, Mexican rice, or a colorful avocado salad. These sides make a balanced meal and highlight the homemade tortillas as the star ingredient.
Creative Ways to Present
Get creative by using your homemade tortillas as an edible plate—fill them with grilled veggies, shredded chicken, or scrambled eggs for a brunch treat. You can even cut them into strips and bake until crisp for homemade tortilla chips.
Make Ahead and Storage
Storing Leftovers
If you have any tortillas leftover, store them in an airtight container or a zip-lock bag at room temperature for up to 2 days to keep them soft and fresh.
Freezing
For longer storage, stack the tortillas with parchment paper between each to prevent sticking, then freeze in an airtight bag. They freeze beautifully for up to 2 months without losing their tender texture.
Reheating
Reheat your tortillas gently by warming them in a dry skillet over medium heat for about 20 seconds per side or wrapping them in a damp towel and microwaving for 15-20 seconds. This keeps them soft and pliable, just like fresh off the griddle.
FAQs
Can I use whole wheat flour for this Homemade Tortillas from Scratch Recipe?
Absolutely! You can substitute whole wheat flour either completely or partially for a nuttier flavor and more fiber, but keep in mind that the tortillas might be a bit heartier and less soft than those made with all-purpose flour.
Why is my homemade tortilla dough sticky?
If your dough feels sticky, it probably needs a touch more flour. Add a teaspoon at a time while kneading until it’s soft but no longer sticks to your hands or the work surface.
How thin should I roll the tortillas?
Roll your tortillas to about 1/8 inch thick. This thickness allows them to cook quickly and remain tender but firm enough to hold fillings without tearing.
Can I make the dough ahead of time?
Yes, you can prepare the dough a day ahead and refrigerate it tightly wrapped. Let it come to room temperature before rolling and cooking for the best texture.
What’s the best skillet to cook homemade tortillas?
A heavy cast-iron skillet or a non-stick pan works wonderfully. The key is to have it hot enough to cook tortillas quickly without burning them.
Final Thoughts
Once you try this Homemade Tortillas from Scratch Recipe, you’ll wonder how you ever settled for anything less. There is a deeply satisfying joy in making such a simple yet delicious staple at home, and it truly brings a comforting, authentic touch to any meal. So gather these humble ingredients and get rolling—your taste buds will thank you!
Print
Homemade Tortillas from Scratch Recipe
- Prep Time: 10 minutes
- Cook Time: 10 minutes
- Total Time: 20 minutes
- Yield: 8 tortillas
- Category: Bread
- Method: Stovetop
- Cuisine: Mexican
Description
This recipe guides you through making delicious homemade tortillas that are soft, warm, and perfect for wraps or fillings. With simple pantry ingredients and a quick cooking process on the stovetop, these tortillas are fresh, flavorful, and versatile for any meal.
Ingredients
Dry Ingredients
- 2 cups all-purpose flour
- 1/2 teaspoon salt
Wet Ingredients
- 2 tablespoons unsalted butter
- 3/4 cup warm water
Instructions
- Mix the Dry Ingredients: In a bowl, combine the all-purpose flour and salt, ensuring they are evenly mixed.
- Cut in the Butter: Add the unsalted butter to the flour mixture and use a pastry cutter or your fingers to work it in until the texture resembles coarse crumbs.
- Add Water: Gradually pour the warm water into the mixture, stirring continuously until the dough starts to come together. Knead the dough by hand on a clean surface until it becomes smooth and soft, which should take about 3-5 minutes.
- Divide the Dough: Cut the dough into 8 equal portions and roll each into a ball, covering them with a towel to prevent drying out.
- Roll Out the Tortillas: On a lightly floured surface, take each dough ball and roll it out with a rolling pin into a thin circle approximately 6 to 8 inches in diameter.
- Cook the Tortillas: Heat a dry skillet or frying pan over medium heat. Place each rolled tortilla into the hot pan and cook for 1 to 2 minutes on each side until the surface is lightly browned and the tortillas puff slightly.
- Serve: Remove the tortillas from the skillet and keep warm by wrapping them in a clean kitchen towel. Serve them warm with your favorite fillings or use as wraps for sandwiches.
Notes
- Ensure the water is warm, not hot, to help hydrate the flour effectively without killing the butter’s texture.
- Use a dry skillet without oil to get the signature light browning and slight puffiness on the tortillas.
- Keep cooked tortillas covered with a towel to maintain softness and warmth before serving.
- You can store leftover tortillas in an airtight container or plastic bag at room temperature for up to 2 days or freeze for longer storage.
- For a gluten-free version, substitute all-purpose flour with a gluten-free flour blend designed for baking.


