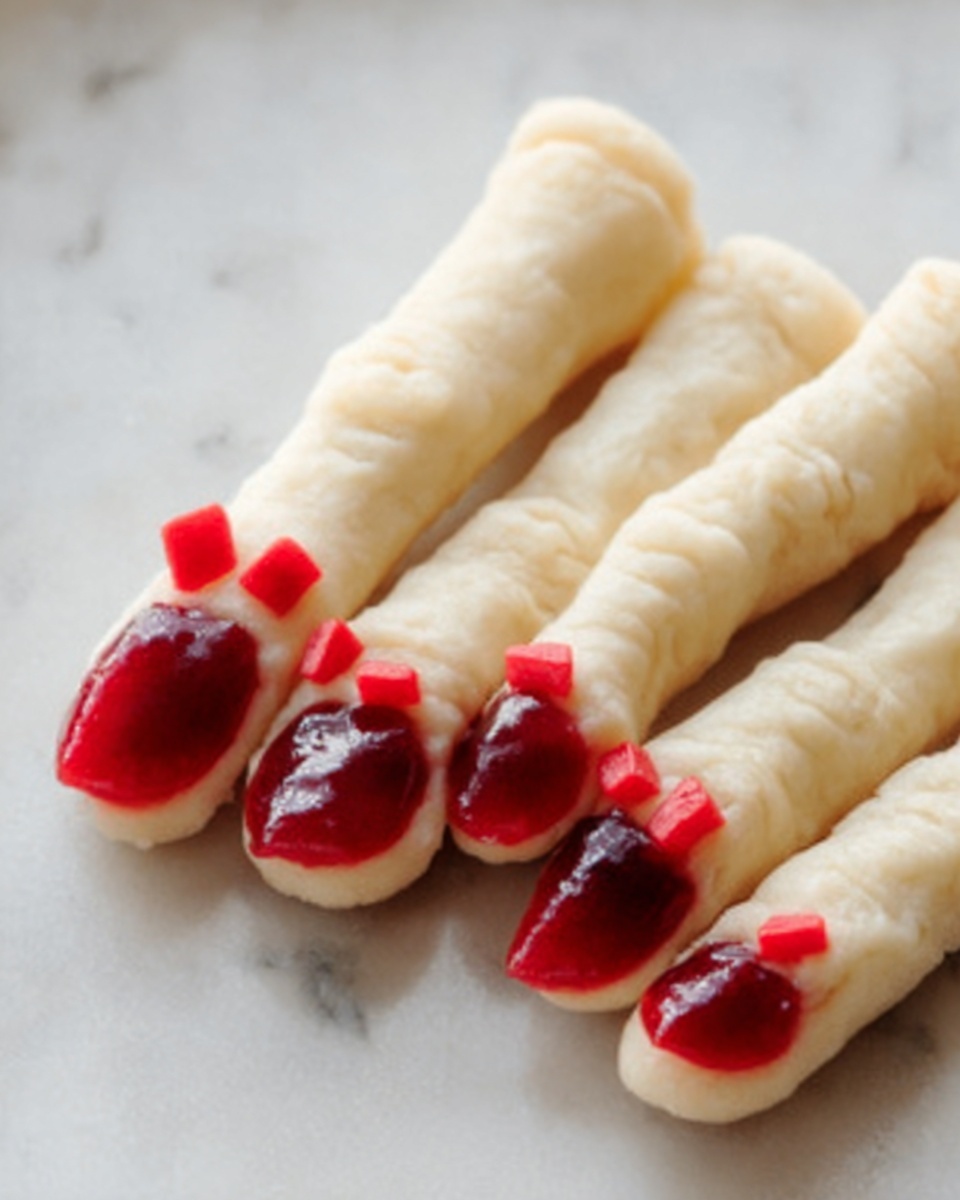
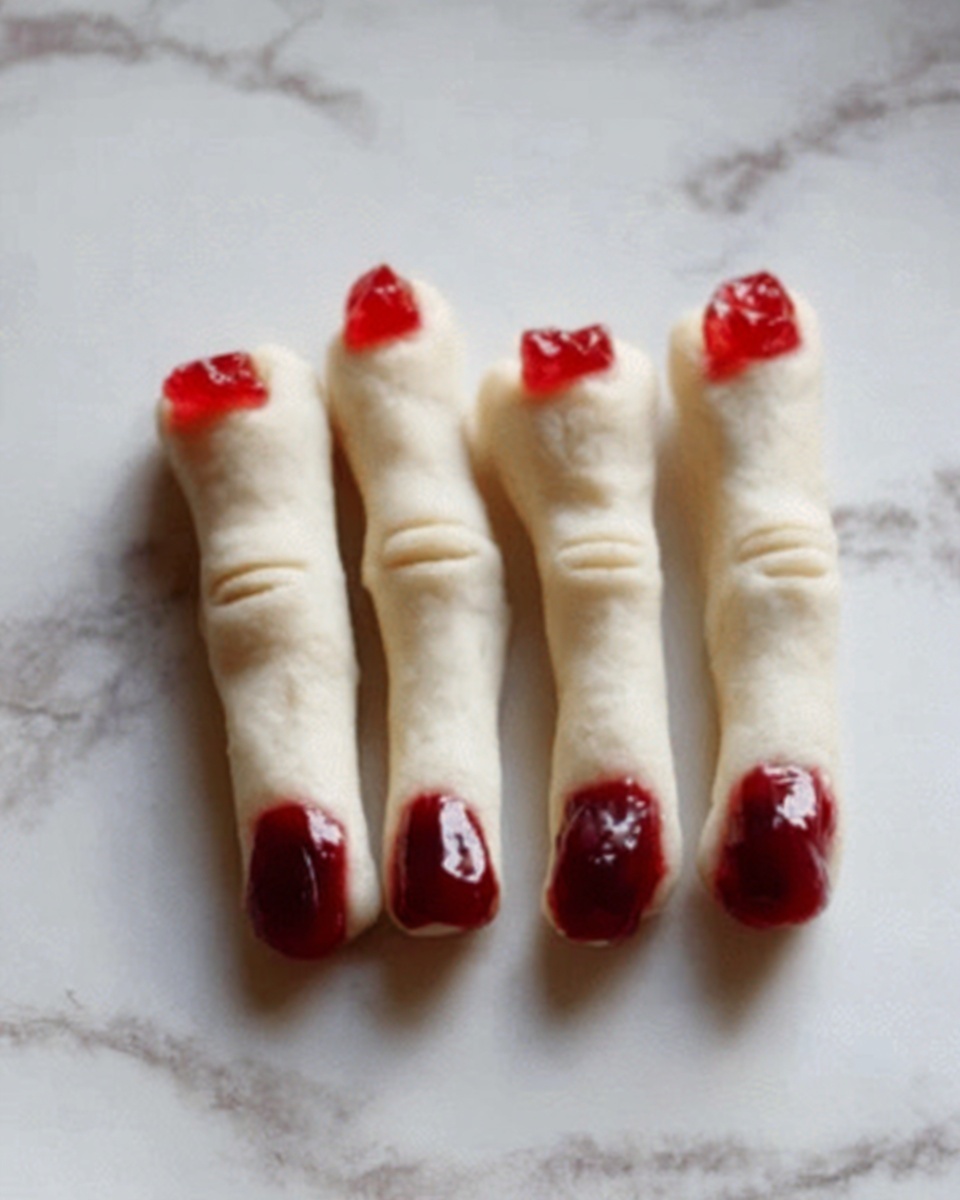
If you’re looking to add a cheeky, spooky flair to your Halloween party snacks, the Halloween Zombie Fingers Recipe is a total game-changer. These creepy, yet utterly delicious, cheesy treats look like eerie severed fingers that will both delight and horrify your guests—perfect for a night filled with fun frights. Made with just a handful of simple ingredients, this recipe transforms everyday mozzarella string cheese into an unforgettable conversation starter that’s as tasty as it is visually striking.
Ingredients You’ll Need
Don’t let the simplicity of these ingredients fool you. Each component is crucial, not just for taste, but to craft the perfect spooky finger effect. The combination of creamy cheese, tangy olives, and colorful bell peppers brings the texture and eerie color palette this dish needs to truly come alive.
- Mozzarella string cheese sticks: The star of the show, these mimic the shape and feel of fingers superbly.
- Olives: Black or green olives make excellent “fingernails,” offering a dark, glossy contrast.
- Green bell pepper slice: Adds a ghostly green tint to the nails and a subtle crunch.
- Red bell pepper slice: Offers a bloody, dramatic pop of color for truly terrifying fingertips.
- Sour cream or ranch dressing: Works as the perfect edible “glue” to attach those nails firmly in place.
How to Make Halloween Zombie Fingers Recipe
Step 1: Prepare the String Cheese
Start by cutting each mozzarella string cheese stick in half so you have 12 little “fingers.” These halves are the perfect size and shape for your faux digits, giving you a solid base that’s easy to customize and decorate.
Step 2: Carve the Finger Wrinkles
Take a toothpick and gently score the surface of each cheese half. These tiny lines mimic knuckle wrinkles and bring the zombie fingers to life in a delightfully creepy way. Don’t be afraid to get creative—each finger can have its own unique set of wrinkles!
Step 3: Create the Fingernails
Slice the olives, green bell pepper, and red bell pepper into small, fingernail-shaped pieces. Mixing colors here enhances the gruesome appeal, making some nails look bruised or bloody, while others have a more ghastly green hue.
Step 4: Attach the Fingernails
Use a small dab of sour cream or ranch dressing on the tip of each cheese finger and press a fingernail piece firmly into place. For extra detail and security, carve out a shallow nail bed on the cheese with a toothpick before attaching your nail.
Step 5: Serve and Impress
Arrange your Halloween Zombie Fingers on a serving plate with a bit of deliberate randomness—it’s more eerie that way. These spooky snacks are best enjoyed right away for the freshest texture and liveliest appearance.
How to Serve Halloween Zombie Fingers Recipe
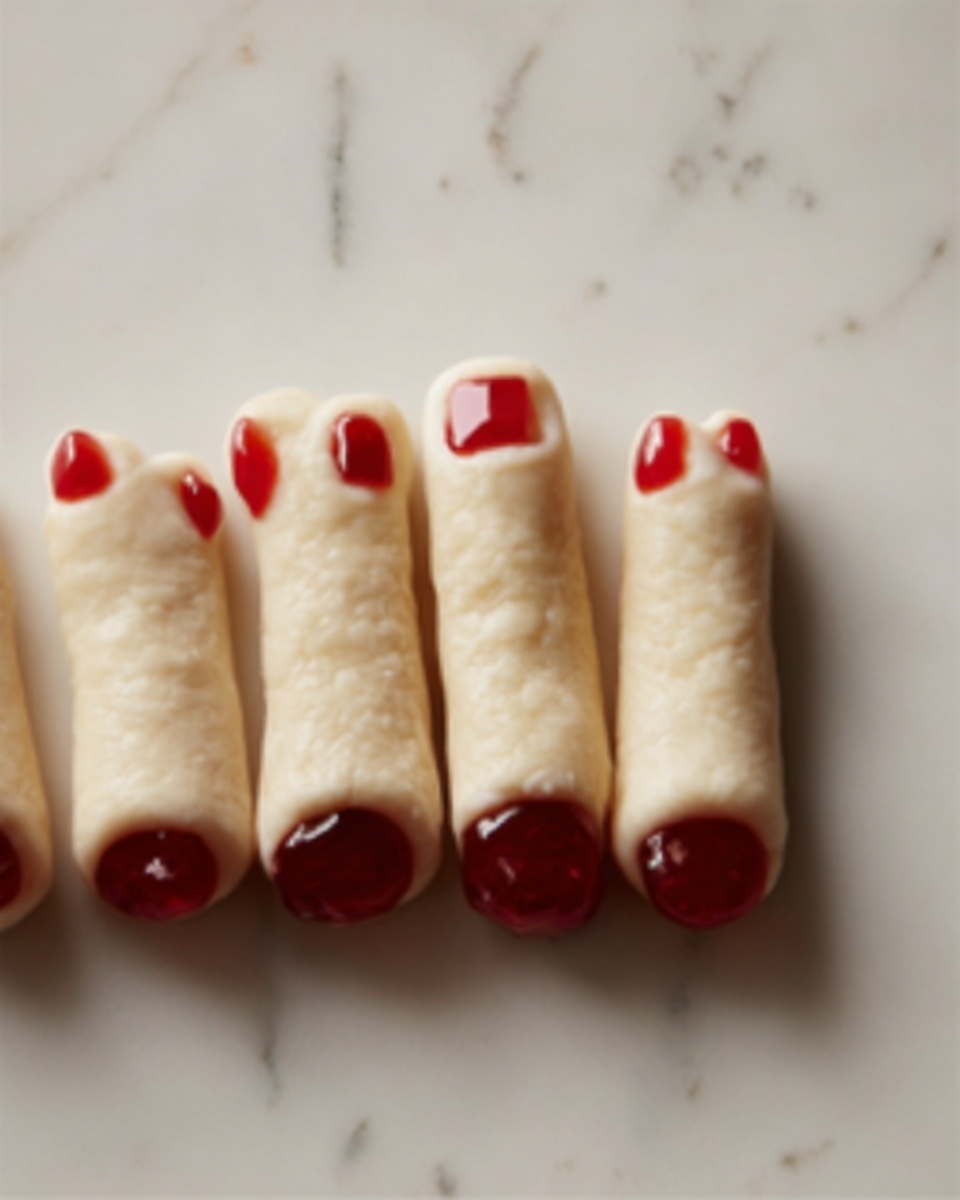
Garnishes
To elevate the presentation, consider sprinkling some smoked paprika or chili powder around your plate for a “bloody” look. Fresh herbs like rosemary can also add a subtle forest vibe, making your zombie fingers feel like they just crawled out from the graveyard.
Side Dishes
The fun part about the Halloween Zombie Fingers Recipe is that it pairs well with lots of spooky snack options! Serve it alongside creepy dips such as “bloody” marinara sauce or guacamole turned green with a hint of lime. Crunchy veggie sticks and creepy crawly gummy worms make the perfect companions for a full haunted feast.
Creative Ways to Present
Take your display to the next level by placing the fingers in a shallow tray lined with salsa or beet hummus. This “blood” pool makes the fingers look freshly severed and ready for a bite. Alternatively, you can stick toothpicks into them and present them “standing” upright, like zombie fingers reaching up from a grave!
Make Ahead and Storage
Storing Leftovers
If you have any leftover zombie fingers (and that’s not guaranteed), store them in an airtight container in the refrigerator. The cheese may stiffen slightly but will still keep its spooky shape for a day or two.
Freezing
Freezing is not recommended for this recipe because the texture of the mozzarella can suffer, becoming rubbery and less appealing once thawed.
Reheating
Since these fingers are best served cold or at room temperature, reheating is generally unnecessary and can compromise their appearance and texture.
FAQs
Can I use other types of cheese?
Mozzarella string cheese works best because of its shape and texture, making it easy to carve and resembling fingers. Using other cheeses might not hold the structure as well or be as visually effective.
What if I don’t have olives?
If you’re out of olives, thin slices of grapes or cherry tomatoes can be creative substitutes for “fingernails,” though olives give the most convincing dark and glossy effect.
Is there a vegan alternative for this recipe?
Absolutely! Vegan string cheese options are available and can be used to recreate this fun dish. Just make sure your dressing and other toppings are also plant-based.
How far in advance can I prepare these?
It’s best to assemble the fingers within a few hours of serving so they stay fresh and maintain their detailed look. The carved wrinkles and attached nails hold up best when fresh.
Can I make bigger portions for a crowd?
Definitely! Just multiply the ingredients accordingly. This recipe scales up beautifully and is a guaranteed hit at any Halloween gathering.
Final Thoughts
You’re officially armed with a wickedly fun, surprisingly simple Halloween Zombie Fingers Recipe that’s sure to become a seasonal staple. Whether you’re hosting a kids’ party or an adult bash, these freaky fingers will add just the right amount of creepy charm and cheesy goodness. Give it a try—you might just find yourself making this spooky snack every year!
Print
Halloween Zombie Fingers Recipe
- Prep Time: 15 minutes
- Cook Time: 0 minutes
- Total Time: 15 minutes
- Yield: 6 servings (12 fingers)
- Category: Appetizer
- Method: No-Cook
- Cuisine: American
- Diet: Vegetarian
Description
This Halloween Zombie Fingers recipe is a spooky, fun, and easy snack perfect for parties or a themed gathering. Made with mozzarella string cheese and decorated with olives and bell peppers to resemble creepy fingers, this no-cook appetizer is quick to assemble and sure to delight both kids and adults with its eerie appearance.
Ingredients
Cheese Fingers
- 6 mozzarella string cheese sticks
Fingernails
- 2 olives (black or green, for fingernails)
- 1 slice of green bell pepper
- 1 slice of red bell pepper
Attachment
- 1 tablespoon sour cream or ranch dressing
Instructions
- Prepare the String Cheese: Cut each mozzarella string cheese stick in half to create 12 finger-shaped pieces, which will serve as the base for your zombie fingers.
- Carve Finger Wrinkles: Use a toothpick to lightly carve wrinkles along each cheese stick half to mimic knuckles and give the fingers a spooky, realistic appearance.
- Create the Fingernails: Slice the olives as well as the green and red bell pepper slices into small fingernail-shaped pieces to decorate the tips of the cheese fingers.
- Attach the Fingernails: Use a small amount of sour cream or ranch dressing to adhere the fingernail pieces to the tips of each cheese finger. Optionally, use the toothpick to carve out a small nail bed on the cheese surface to help secure the fingernails.
- Serve: Arrange the finished Zombie Fingers on a platter and serve immediately as a fun, creepy snack.
Notes
- You can use either black or green olives based on your color preference for fingernails.
- The sour cream or ranch dressing acts as an edible glue; feel free to substitute with cream cheese or another spread if desired.
- This recipe requires no cooking and can be prepared in under 30 minutes.
- For a more dramatic effect, chill the cheese fingers before serving to keep them firm.
- Great for kids’ parties, Halloween events, or as a fun appetizer for any spooky celebration.

