
If you’ve ever dreamed of baking bakery-quality bread at home without endless kneading or complicated steps, this Dutch Oven No Knead Crusty Bread Recipe is your golden ticket. It combines simplicity with that satisfying crackling crust and soft, airy crumb that feels like a comforting hug with every slice. Using just a handful of basic ingredients and your trusty Dutch oven, you’ll whip up an irresistible loaf that fills your kitchen with the warm aroma of freshly baked bread—truly a delight to share with family and friends.
Ingredients You’ll Need
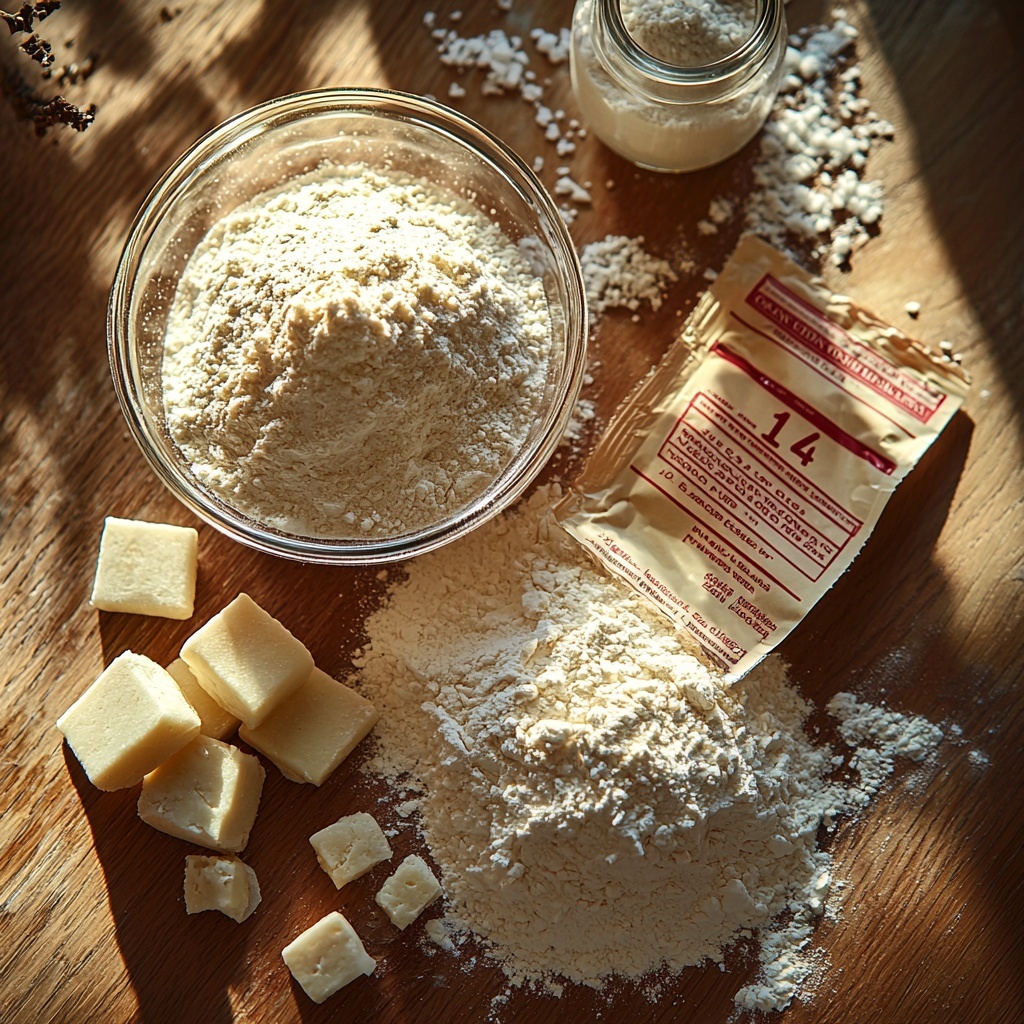
Gathering the right essentials is the first step toward this crusty masterpiece. These simple ingredients work harmoniously to create a bread that’s crisp on the outside, tender inside, and bursting with homemade goodness.
- Warm water (1 1/2 cups): Perfectly warmed to about 100 degrees F to activate the yeast without killing it.
- Yeast (1 packet / 2.25 teaspoons): Using any active dry, instant, or quick rise yeast will give your bread that perfect rise.
- Fine grain salt (1 ½ teaspoons): Enhances flavor and controls yeast activity for better texture.
- All-purpose flour (3 1/4 cups): The backbone of your loaf, creating structure and crumb.
How to Make Dutch Oven No Knead Crusty Bread Recipe
Step 1: Combine Warm Water, Yeast, and Salt
Start by stirring warm water, yeast, and salt in a large bowl until everything dissolves. This mixture wakes up the yeast, setting the stage for a perfect rise.
Step 2: Add Flour and Mix
Dump the flour all at once into your liquid mixture, then stir until a sticky dough forms. Don’t stress about perfectly incorporating every bit of flour; a rough mix is just fine here.
Step 3: Let the Dough Rise
Cover the bowl with a towel or plastic wrap and set it aside in a warm spot. Wait patiently for 2 to 3 hours until the dough doubles in size—it’s a simple step packed with transformational magic.
Step 4: Preheat Your Oven with Dutch Oven Inside
Pop your Dutch oven into the oven and crank the heat to 450 degrees F. Heating the Dutch oven ensures a steamy environment that creates that crave-worthy crust.
Step 5: Shape the Dough
Gently transfer the risen dough onto a floured piece of parchment paper and shape it into a rustic loaf. This hands-off shaping keeps the airy soul intact.
Step 6: Score the Top (Optional)
Using a sharp knife or razor blade, cut a few shallow slits across the top. Scoring guides how the bread expands while baking and adds rustic charm.
Step 7: Bake Covered
Carefully lift the parchment with the dough and place it inside the preheated Dutch oven. Cover with the lid to trap heat and steam, then bake for 35 minutes.
Step 8: Bake Uncovered for a Golden Crust
Remove the lid and bake for another 5 to 10 minutes. This step lets the crust turn beautifully golden-brown and irresistibly crisp.
Step 9: Cool Before Slicing
Allow the bread to cool on a wire rack for at least 10 minutes. Patience pays off with better slicing and flavor—plus, it prevents your loaf from turning gummy.
How to Serve Dutch Oven No Knead Crusty Bread Recipe
Garnishes
This bread’s natural flavor shines on its own, but a smear of good-quality butter, a drizzle of olive oil with sea salt, or a sprinkle of fresh herbs can elevate your serving experience in a heartbeat.
Side Dishes
Pair this crusty loaf with soups like rich tomato basil or hearty stew, robust cheeses, or even homemade dips. Its crunchy crust and soft interior absorb flavors delightfully.
Creative Ways to Present
Serve your Dutch Oven No Knead Crusty Bread Recipe sliced alongside a board of charcuterie, or transform it into bruschetta topped with vine-ripened tomatoes and fresh basil. Toast for breakfast with jam, or cube for homemade croutons—the possibilities are endless.
Make Ahead and Storage
Storing Leftovers
Wrap leftover bread in a clean kitchen towel or store in a paper bag to keep its crust from becoming rubbery. It’s best enjoyed within 2 to 3 days for optimal freshness.
Freezing
If you want to save some for later, slice your Dutch Oven No Knead Crusty Bread Recipe and freeze it in an airtight bag. This way, you can pull out exactly what you need and enjoy fresh-tasting bread anytime.
Reheating
Reheat slices in a toaster or warm a whole loaf in a 350-degree oven for 10 minutes to restore its crusty texture and soft crumb, just like freshly baked.
FAQs
Can I use whole wheat flour instead of all-purpose flour?
Yes! You can substitute whole wheat flour, but expect a denser loaf and a nuttier flavor. Consider using a blend with all-purpose flour for a lighter texture.
Do I have to use a Dutch oven?
While the Dutch oven is key to getting that perfect crust thanks to its heavy lid and heat retention, you can use a covered baking dish or an oven-safe pot with a lid in a pinch.
What if I don’t have parchment paper?
You can bake the dough directly on a well-floured surface or use a silicone baking mat. Just be cautious when transferring the dough to the hot Dutch oven to avoid sticking.
Can I add herbs or garlic to the dough?
Absolutely! Adding chopped herbs, garlic powder, or other seasonings can customize your loaf beautifully. Mix them in with the flour before baking for a flavor boost.
Why is the bread sticky before rising?
The dough is intentionally sticky to develop a light, airy crumb without kneading. Resist the temptation to add more flour, as this can make the bread dense.
Final Thoughts
This Dutch Oven No Knead Crusty Bread Recipe is a true game-changer for anyone who’s ever been intimidated by bread baking. It’s approachable, reliable, and yields stunning results every time. Grab your ingredients and Dutch oven, and treat yourself to the joy of fresh, homemade bread that you’ll want to bake again and again.
Print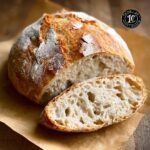
Dutch Oven No Knead Crusty Bread Recipe
- Prep Time: 5 minutes
- Cook Time: 45 minutes
- Total Time: 2 hours 50 minutes
- Yield: 12 servings
- Category: Bread
- Method: Baking
- Cuisine: American
Description
This Dutch Oven No Knead Crusty Bread recipe is a simple yet rewarding method to bake rustic, artisan-style bread at home. With minimal prep time and no kneading required, the dough undergoes a long rise to develop flavor and texture. Baking in a preheated Dutch oven creates a steamy environment that yields a beautifully crusty exterior and a soft, airy crumb inside. Perfect for beginners and experienced bakers alike, this bread pairs wonderfully with butter, soups, and sandwiches.
Ingredients
Ingredients
- 1 1/2 cups warm water (about 100 degrees F)
- 1 packet yeast (active dry, instant, or quick rise – 2.25 teaspoons)
- 1 1/2 teaspoons fine grain salt
- 3 1/4 cups all-purpose flour
Instructions
- Mix Ingredients: In a large bowl, combine the warm water, yeast, and salt. Stir until the yeast is dissolved and the mixture is uniform.
- Form Dough: Add all the flour at once to the yeast mixture. Stir until a sticky dough forms. Don’t worry if the flour isn’t fully incorporated at this step.
- First Rise: Cover the bowl with a clean towel or plastic wrap and let the dough rise in a warm area for 2 to 3 hours, or until it has doubled in size.
- Preheat Oven: Place a Dutch oven with its lid inside your oven and preheat to 450 degrees Fahrenheit to get it very hot.
- Shape Loaf: Transfer the risen dough onto a sheet of floured parchment paper. Gently shape it into a round loaf shape, handling the dough delicately to keep its air bubbles intact.
- Score Loaf: If desired, use a sharp knife or bread lame to make several slits on the top of the dough. This helps control the bread’s expansion during baking.
- Bake Covered: Carefully lift the loaf on the parchment paper into the hot Dutch oven. Cover with the lid and bake for 35 minutes, allowing steam to build and develop a crust.
- Bake Uncovered: Remove the lid and bake for an additional 5 to 10 minutes, or until the bread’s crust is a deep golden brown and crisp.
- Cool Bread: Remove the bread from the Dutch oven and transfer to a wire rack. Let it cool for at least 10 minutes before slicing to allow the crumb to set properly.
Notes
- Ensure the water is warm, not hot, to avoid killing the yeast; about 100°F is ideal.
- No kneading is required, but stirring the dough sufficiently to combine all ingredients is important.
- Letting the dough rise in a warm spot helps activate the yeast for better texture and flavor.
- Preheating the Dutch oven is crucial to get that classic crusty crust.
- Using parchment paper makes transferring the dough to the hot Dutch oven easier and safer.
- Scoring the loaf allows controlled expansion and an attractive bread pattern.
- Cooling the bread properly before slicing prevents it from becoming gummy inside.


