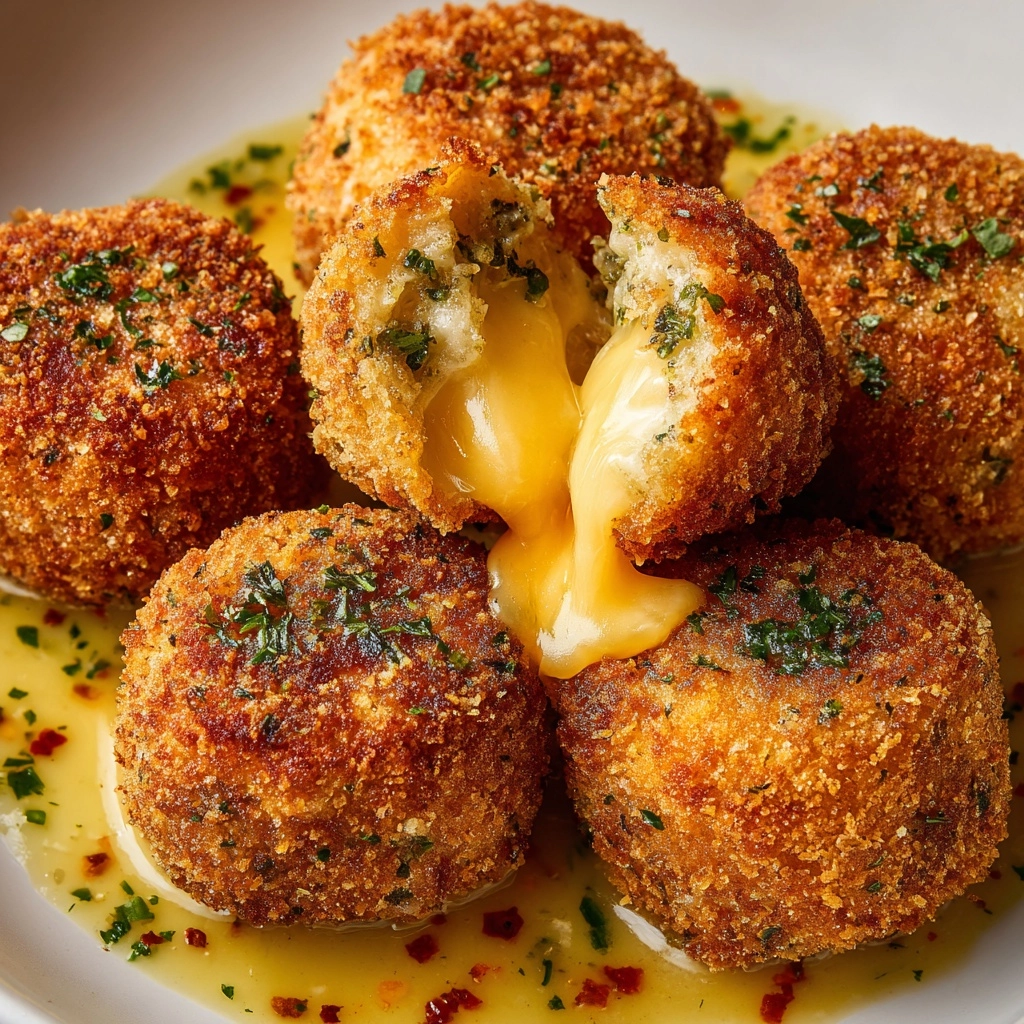
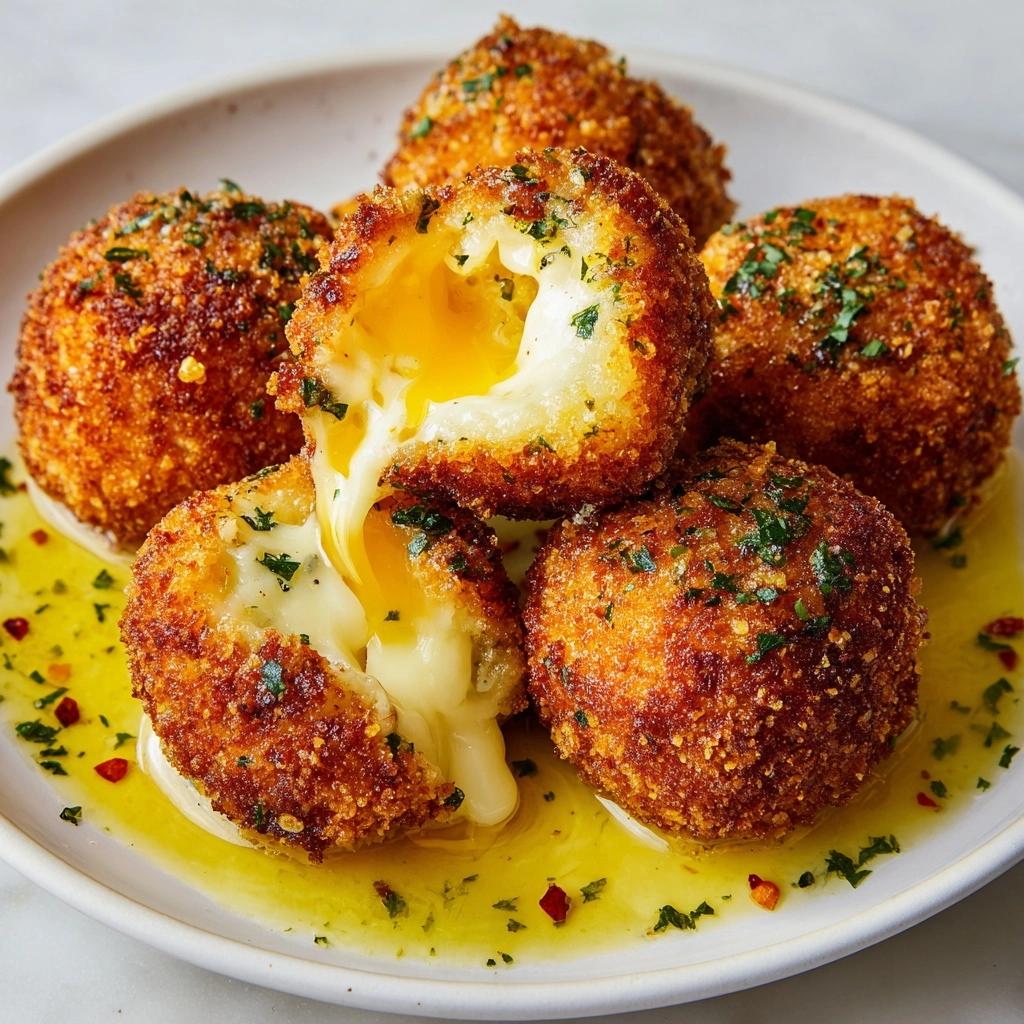
Imagine the ultimate comfort food mashup: crispy, golden on the outside, melty and satisfying on the inside, and every bite is a hit with adults and kids alike. That’s exactly what you’ll get with Cheesy Tuna Nuggets! This recipe takes the humble canned tuna and transforms it into irresistible nuggets that are packed with flavor, cheesy goodness, and the perfect contrast of textures. They’re quick to prep, customizable for your family’s tastes, and destined to disappear fast, whether you serve them as a fun appetizer, lunchbox treat, or protein-packed snack.
Ingredients You’ll Need
You’ll only need a handful of familiar ingredients, each one carefully chosen for a specific reason. The magic comes from the way they work together: creamy, cheesy, savory—and just the right amount of crunch and freshness.
- Tuna in water (2 cans, 5 oz each): Drained tuna brings savory flavor and plenty of protein, making these nuggets both filling and satisfying.
- Shredded cheddar cheese (1 cup): Melts beautifully to help hold everything together and adds that rich, cheesy bite everyone loves.
- Plain breadcrumbs (1/2 cup): Give the Cheesy Tuna Nuggets their irresistible crispy texture while keeping the insides tender.
- Finely chopped green onions (1/4 cup): Freshen up the flavor and add a hint of color in every bite.
- Large eggs (2): Bind all the tasty ingredients and ensure your nuggets hold their shape.
- Mayonnaise (1/4 cup): Makes the mixture extra moist and adds a subtle tang that takes these over the top.
- Garlic powder (1/2 teaspoon): Rounds out the flavor with mild, savory depth.
- Onion powder (1/2 teaspoon): Enhances the savoriness and gives the batter a little lift.
- Black pepper (1/4 teaspoon): Just enough to perk things up without overpowering the cheese and tuna.
- Salt (1/4 teaspoon): Pulls all those flavors together and makes every bite pop.
- Olive oil spray or a small amount of oil: Use for baking or pan-frying so the nuggets turn out perfectly golden and crispy.
How to Make Cheesy Tuna Nuggets
Step 1: Prep Your Cooking Surface
Start by getting your baking sheet ready if you’re baking, or a non-stick skillet if you’re pan-frying. Preheat your oven to 400°F (200°C) and line a baking sheet with parchment paper for easy cleanup, or lightly oil your skillet for stovetop crispiness. This simple step ensures your Cheesy Tuna Nuggets won’t stick and makes the final cleanup a breeze.
Step 2: Mix Everything Together
In a large bowl, combine the drained tuna, shredded cheddar cheese, breadcrumbs, green onions, eggs, mayonnaise, garlic powder, onion powder, black pepper, and salt. Use a fork or your hands to mix until you have a uniform, slightly tacky mixture. The blend should hold together nicely, which is key for forming perfect nuggets.
Step 3: Shape the Nuggets
Using your hands or a small scoop, form the mixture into small, nugget-sized patties—think a little bigger than a bite-sized meatball, but flatter. Try to keep them evenly sized for even cooking; you’ll end up with about 20 lovely Cheesy Tuna Nuggets.
Step 4: Bake or Pan-Fry
If you’re baking, arrange the nuggets on your prepared baking sheet and give the tops a quick mist with olive oil spray to get that golden crunch. Bake for 15 to 18 minutes, flipping halfway through so both sides toast up beautifully. If you prefer pan-frying, add a little oil to your skillet and cook the nuggets over medium heat for about 3–4 minutes per side, until the exteriors are golden and the cheese is melty.
Step 5: Serve Warm and Enjoy!
Once they’re golden and crisp—no matter your cooking method—transfer the Cheesy Tuna Nuggets to a plate and let them cool for just a minute. Serve them warm, alongside your favorite dipping sauces. Ketchup and ranch are classic, but feel free to get creative!
How to Serve Cheesy Tuna Nuggets
Garnishes
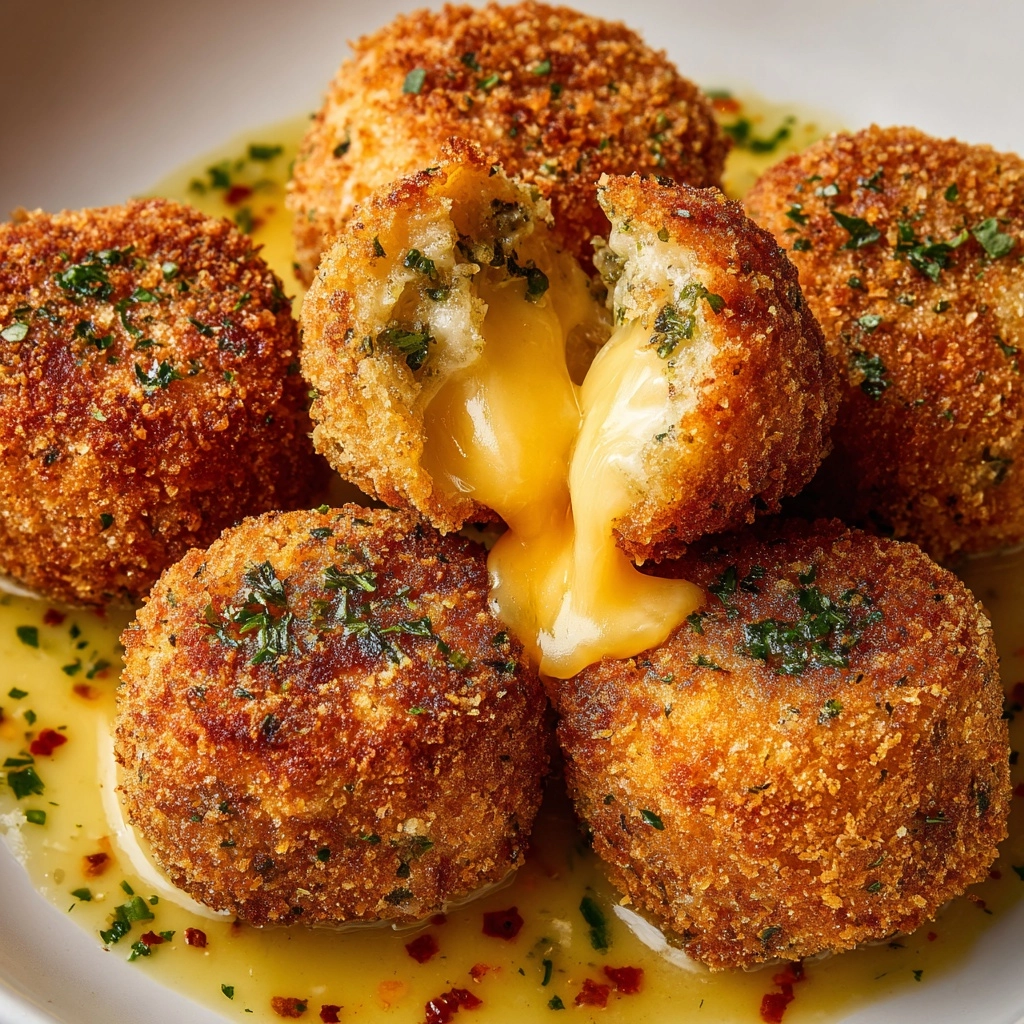
A sprinkle of chopped fresh parsley, a handful of sliced green onions, or even a dash of paprika can dress up your Cheesy Tuna Nuggets instantly. These little extras make your platter look festive and add appealing bursts of color and freshness.
Side Dishes
These nuggets are deliciously versatile. Try pairing them with a crisp green salad or a tangy coleslaw for balance, or go kid-friendly with oven fries or carrot sticks. A scoop of creamy mashed potatoes also makes for an old-school comfort food vibe.
Creative Ways to Present
Turn your Cheesy Tuna Nuggets into party-ready appetizers by threading them onto small skewers with cherry tomatoes and cubes of cucumber. Or stack them slider-style in mini rolls with lettuce and extra mayo for the ultimate snackable sandwich. Make sure to serve with plenty of napkins—these are meant to be enjoyed with your fingers!
Make Ahead and Storage
Storing Leftovers
Leftover Cheesy Tuna Nuggets can be stored in an airtight container in the fridge for up to 3 days. They’ll still taste fantastic the next day, whether you snack on them cold or gently reheat them.
Freezing
You can absolutely freeze these nuggets, either before or after cooking! Arrange uncooked nuggets on a lined tray and freeze until firm, then transfer to a zip-top bag. Or freeze cooked ones once cooled. They’ll keep beautifully for up to 2 months—perfect for quick meals whenever you need them.
Reheating
For best results, reheat Cheesy Tuna Nuggets in a 350°F oven for about 10 minutes, or until warmed through and crisp. The microwave also works in a pinch, though the nuggets will be a bit softer, but still delicious.
FAQs
Can I use a different kind of cheese?
Absolutely! Cheddar is classic, but mozzarella, Monterey Jack, or even a blend of cheeses works great. Go bold and try pepper jack for a little kick, or swap in Swiss for a nuttier flavor.
How do I make Cheesy Tuna Nuggets gluten-free?
Easy fix—just use gluten-free breadcrumbs in place of regular ones. Panko-style gluten-free crumbs can add even more crunch if you like your nuggets extra crispy!
What dipping sauces go well with Cheesy Tuna Nuggets?
Ketchup and ranch are always winners, but you can try honey mustard, tartar sauce, spicy sriracha mayo, or even a simple squeeze of fresh lemon for something lighter. There are endless possibilities to match your mood!
Can I make the mixture ahead of time?
Yes! Mix everything together and shape your nuggets the day before you plan to cook them. Keep them covered in the fridge until you’re ready to bake or fry, for fresh, fuss-free cooking.
Do I need to flip them halfway through baking?
Flipping halfway through baking helps both sides crisp up and get golden brown, so you don’t miss out on that signature Cheesy Tuna Nuggets texture. If you forget, don’t worry—they’ll still be tasty, just a little lighter on the underside!
Final Thoughts
If you’ve been searching for a cozy, crowd-pleasing snack, look no further than these Cheesy Tuna Nuggets. They’re simple to make, loaded with flavor, and so much fun to eat. Give them a spot in your recipe rotation—you’ll be hooked from the very first bite!
Print
Cheesy Tuna Nuggets Recipe
- Prep Time: 15 minutes
- Cook Time: 18 minutes
- Total Time: 33 minutes
- Yield: 20 nuggets
- Category: Appetizer
- Method: Baking or Pan-Frying
- Cuisine: American
- Diet: Non-Vegetarian
Description
These Cheesy Tuna Nuggets are a delightful twist on traditional fish cakes, combining tuna with cheddar cheese and savory seasonings for a flavorful and protein-packed snack or meal. Whether baked in the oven or pan-fried, these crispy nuggets are sure to be a hit with both kids and adults alike.
Ingredients
Main Ingredients:
- 2 cans (5 oz each) tuna in water, drained
- 1 cup shredded cheddar cheese
- 1/2 cup plain breadcrumbs
- 1/4 cup finely chopped green onions
- 2 large eggs
- 1/4 cup mayonnaise
- 1/2 teaspoon garlic powder
- 1/2 teaspoon onion powder
- 1/4 teaspoon black pepper
- 1/4 teaspoon salt
Additional:
- olive oil spray or a small amount of oil for baking or pan-frying
Instructions
- Preheat the oven: Preheat the oven to 400°F (200°C) and line a baking sheet with parchment paper, or lightly grease a non-stick skillet if pan-frying.
- Prepare the mixture: In a large bowl, combine the drained tuna, shredded cheese, breadcrumbs, green onions, eggs, mayonnaise, garlic powder, onion powder, salt, and pepper. Mix well until the mixture holds together.
- Form the nuggets: Using your hands or a small scoop, form the mixture into small nugget-sized patties.
- Bake or pan-fry: If baking, place the nuggets on the prepared baking sheet and lightly spray the tops with olive oil. Bake for 15–18 minutes, flipping halfway through. If pan-frying, cook in a lightly oiled skillet over medium heat for 3–4 minutes per side.
- Serve: Serve warm with ketchup, ranch, or your favorite dipping sauce.
Notes
- These nuggets can be made ahead and frozen before or after cooking.
- To make them gluten-free, use gluten-free breadcrumbs.
- For extra crunch, coat the nuggets in panko before baking or frying.
Nutrition
- Serving Size: 4 nuggets
- Calories: 220
- Sugar: 1g
- Sodium: 360mg
- Fat: 13g
- Saturated Fat: 4g
- Unsaturated Fat: 7g
- Trans Fat: 0g
- Carbohydrates: 8g
- Fiber: 0g
- Protein: 18g
- Cholesterol: 70mg

