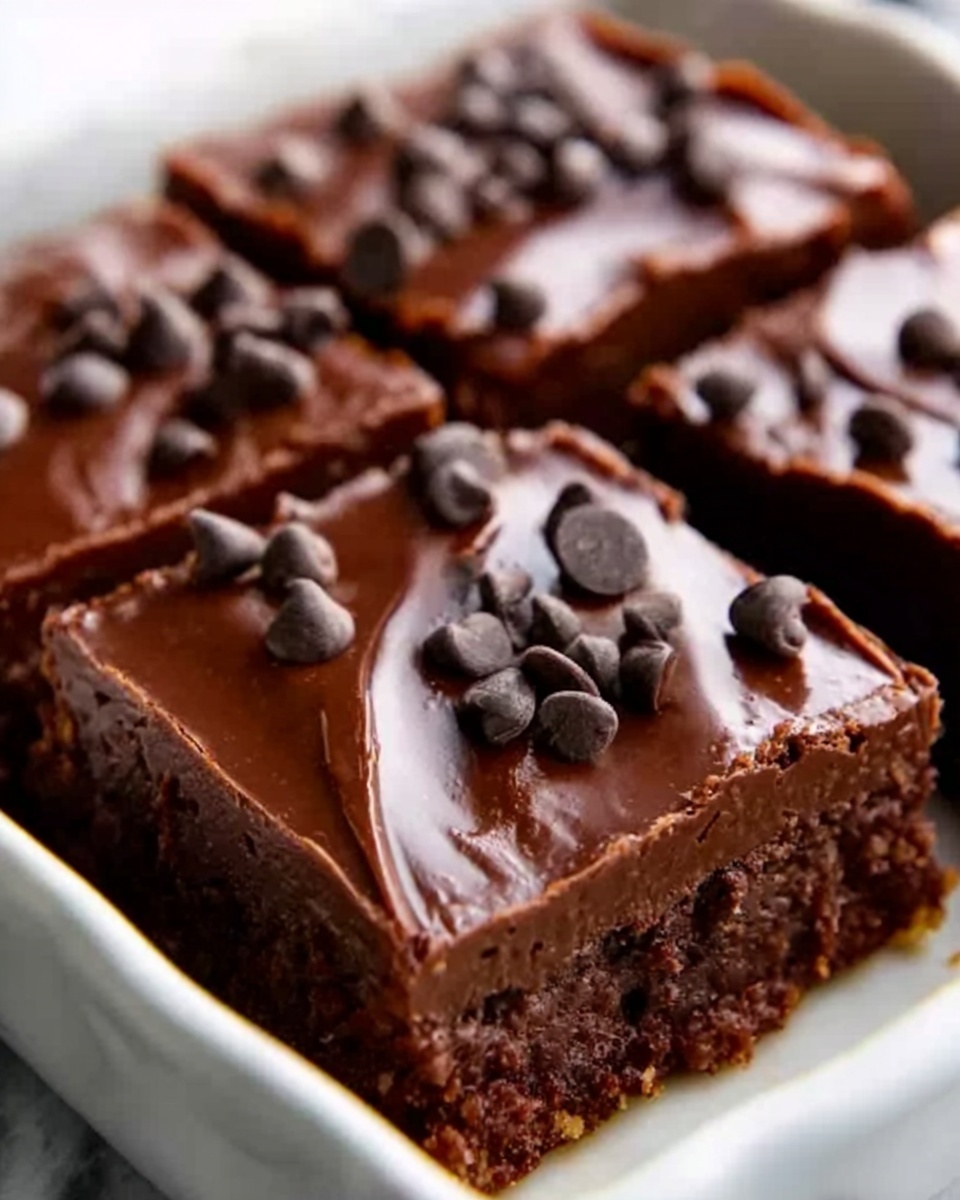
If you’ve ever wished for a homemade snack that tastes indulgent yet fuels your body right, you’re going to love this Chocolate Workout Bars Recipe. These bars strike the perfect balance between rich, chocolatey flavor and wholesome energy, making them an ideal treat before or after a workout. Easy to whip up with simple pantry staples, they combine creamy nut butter, cocoa goodness, and just the right hint of natural sweetness to satisfy your cravings while keeping your nutrition game strong.
Ingredients You’ll Need
Getting started with this recipe is straightforward because every ingredient is carefully chosen to deliver both nutrition and delectable taste. From the creamy texture of nut butter to the hearty chew of oat flour, each add-in plays a crucial role in creating bars that are as energizing as they are delicious.
- Peanut butter or almond butter: Provides healthy fats and a creamy, binding base.
- Honey, maple syrup, or agave syrup: Adds natural sweetness and moisture to the bars.
- Unsweetened cocoa powder: Supplies rich chocolate flavor without added sugar.
- Oat flour: Offers a nutty, wholesome texture and keeps the bars hearty.
- Protein powder (optional): Boosts the protein content for muscle recovery and satiety.
- Salt: Enhances the overall flavor and balances sweetness.
- Milk of choice: Helps adjust dough consistency for easy mixing.
- Mini chocolate chips (optional): Add a delightful melty surprise in every bite.
How to Make Chocolate Workout Bars Recipe
Step 1: Prepare Your Pan
Begin by lining an 8×8-inch baking pan with parchment paper. This step is key to ensuring your bars lift out easily once they’re set, saving you any digging or crumbling mishaps later on.
Step 2: Mix the Wet Ingredients
Combine your chosen nut butter with honey (or your preferred syrup) and unsweetened cocoa powder in a bowl. Stir these together until the mixture becomes smooth and fully blended. This is where your bars start building that luscious chocolate foundation.
Step 3: Add the Dry Ingredients
Next, stir in the oat flour, protein powder if using, and salt. Mix thoroughly to form a thick dough. The oat flour not only adds substance but also gives your bars that perfect chewy texture.
Step 4: Adjust Dough Consistency
If the dough feels too dry or crumbly, gently add your choice of milk one tablespoon at a time. This keeps the mixture pliable and easier to press into the pan without becoming too sticky or runny.
Step 5: Fold in Chocolate Chips
This is the fun part! Fold in mini chocolate chips if you want to kick up the indulgence factor. They’ll melt just enough when chilled to create pockets of gooey chocolate magic.
Step 6: Press and Chill
Press the dough evenly into your lined pan, smoothing out the top for an even thickness. Pop it into the refrigerator and let it chill for at least one hour so it can firm up properly.
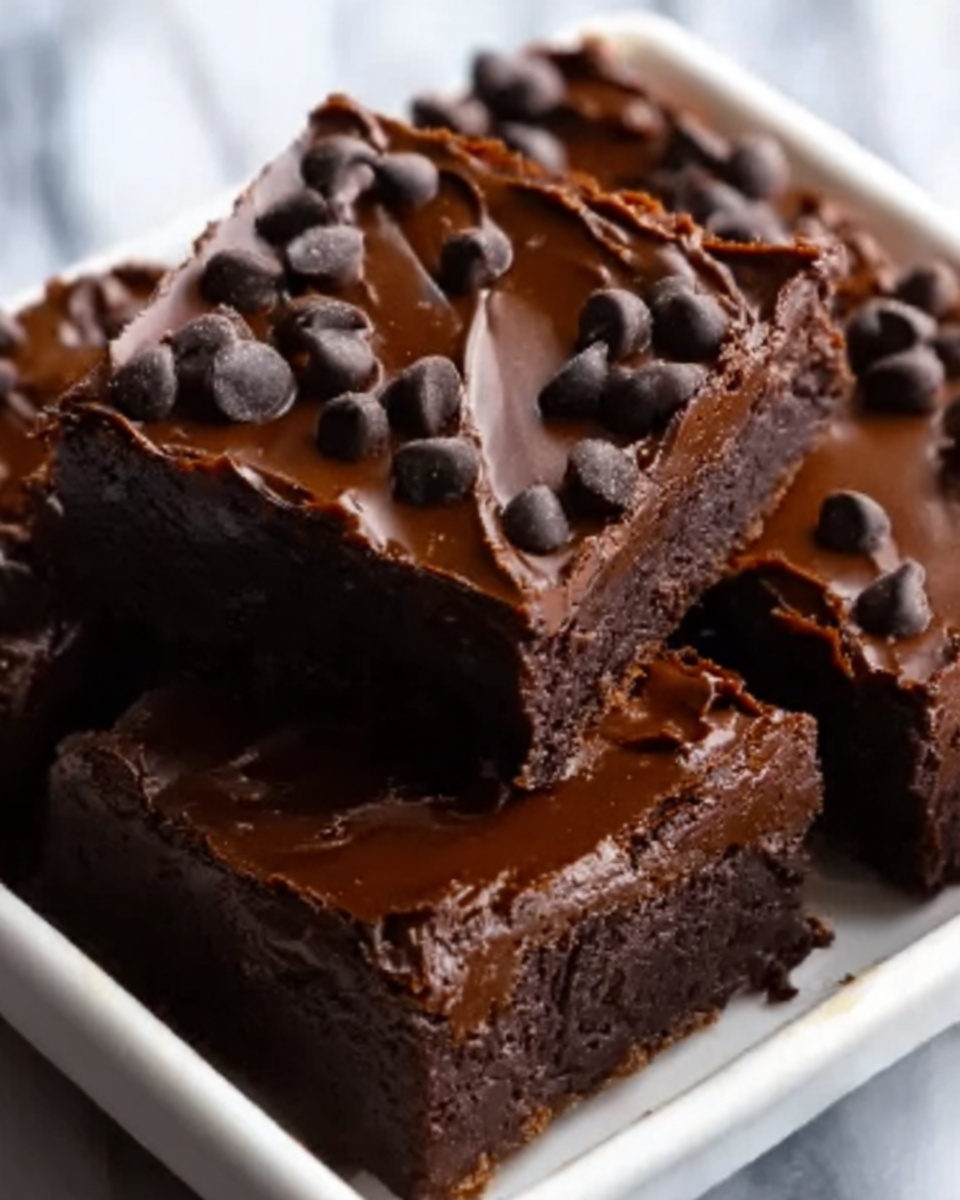
Step 7: Slice into Bars
Once chilled, lift the mixture out of the pan using the parchment paper edges and slice into 8 bars. Now you have perfectly portioned, chocolatey workout fuel ready to enjoy whenever the craving or need hits.
How to Serve Chocolate Workout Bars Recipe

Garnishes
Sprinkle a pinch of flaky sea salt on top before chilling to enhance the rich chocolate and peanut butter flavors. For an extra special touch, a light dusting of cocoa powder or shredded coconut can add texture and a pretty finish.
Side Dishes
Though these bars are fantastic on their own, pairing them with a creamy yogurt or a handful of fresh berries can turn your snack into a balanced mini-meal. The tanginess of the yogurt complements the chocolate, while berries add a burst of refreshing sweetness.
Creative Ways to Present
For a fun twist, cut the bars into bite-sized squares and place them on a pretty platter with colorful napkins. You could also wrap individual bars in parchment or wax paper tied with a ribbon—perfect for gifting or meal prepping.
Make Ahead and Storage
Storing Leftovers
Keep your Chocolate Workout Bars Recipe fresh by storing them in an airtight container in the refrigerator. They will stay perfectly firm and chewy for up to one week, so you can enjoy them throughout your busy days without worry.
Freezing
These bars freeze beautifully! Wrap them individually or keep them stacked separated by parchment in a sealed container. When frozen, they’ll last up to two months and thaw quickly at room temperature or in the fridge.
Reheating
If you like your bars a bit softer, especially after freezing, pop them in the microwave for 10 to 15 seconds or enjoy them at room temperature. This brings back the soft, melt-in-your-mouth texture that makes these bars so delightful.
FAQs
Can I use other nut butters besides peanut or almond?
Absolutely! Cashew, sunflower seed, or even tahini can work well. Just make sure your chosen butter is smooth and creamy for the best mixing consistency.
Is it necessary to add protein powder?
No, it’s optional. If you want to boost protein content, it’s a great addition, but the bars are delicious and nutritious even without it.
Can I make the bars vegan?
Yes! Use maple syrup or agave instead of honey, and choose a plant-based milk to keep these bars vegan-friendly.
How long do these bars last at room temperature?
Since they contain no baking and have nut butter and natural sweeteners, it’s best to keep them refrigerated or frozen. At room temperature, they might get too soft or spoil within a day.
What makes oat flour important in this recipe?
Oat flour not only adds a slight nuttiness and chewiness but also helps bind the ingredients together, giving the bars their ideal texture.
Final Thoughts
I can’t recommend this Chocolate Workout Bars Recipe enough for anyone who loves a dessert-like treat that actually powers you up. Perfectly rich with chocolate and naturally sweet, these bars are simple to make and genuinely tasty every single time. I hope you give them a try and find yourself reaching for these bars again and again to fuel your active days and satisfy your chocolate cravings!
Print
Chocolate Workout Bars Recipe
- Prep Time: 10 minutes
- Cook Time: 0 minutes
- Total Time: 1 hour 10 minutes
- Yield: 8 servings
- Category: Snack
- Method: No-Cook
- Cuisine: American
- Diet: Vegetarian
Description
These Chocolate Workout Bars are a nutritious and delicious no-bake snack perfect for post-workout energy or a healthy treat. Made with peanut or almond butter, natural sweeteners, oat flour, and optional protein powder, these bars combine rich chocolate flavor with wholesome ingredients. Easy to prepare and customizable with mini chocolate chips, they set in the fridge for a convenient grab-and-go snack.
Ingredients
Wet Ingredients
- 1/2 cup peanut butter or almond butter
- 1/4 cup honey, maple syrup, or agave syrup
- 2 tbsp milk of choice, as needed
Dry Ingredients
- 1/4 cup unsweetened cocoa powder
- 1/2 cup oat flour
- 1/4 cup protein powder (optional)
- 1/4 tsp salt
Add-ins
- 1/4 cup mini chocolate chips (optional)
Instructions
- Prepare the pan: Line an 8×8-inch baking pan with parchment paper to ensure easy removal of the bars once set.
- Mix wet ingredients: In a bowl, combine the peanut or almond butter with honey (or your choice of syrup) and unsweetened cocoa powder. Stir until the mixture is smooth and even in texture.
- Add dry ingredients: Stir in the oat flour, protein powder if using, and salt. Mix thoroughly to form a thick dough that holds together.
- Adjust consistency: If the dough feels too dry or crumbly, gradually add milk one tablespoon at a time until the mixture becomes pliable and easy to press.
- Incorporate add-ins: Fold in the mini chocolate chips if you want some extra bursts of chocolate throughout the bars.
- Form the bars: Press the dough evenly into the prepared baking pan, smoothing the top with a spatula or your hands for an even surface.
- Refrigerate: Place the pan in the fridge for at least 1 hour to allow the bars to set and firm up properly.
- Slice and store: Once set, remove the bars from the pan using the parchment paper lift, slice into 8 servings, and store them in an airtight container in the refrigerator for up to a week.
Notes
- Use natural nut butters without added sugars or oils for a healthier option.
- Protein powder is optional but adds extra protein to support muscle recovery.
- Milk of choice can be any dairy or plant-based milk depending on dietary preferences.
- The bars can be customized with nuts, seeds, or dried fruit if desired.
- For a firmer bar, chill longer or briefly freeze before slicing.
- Store in the refrigerator to maintain freshness and texture.


