
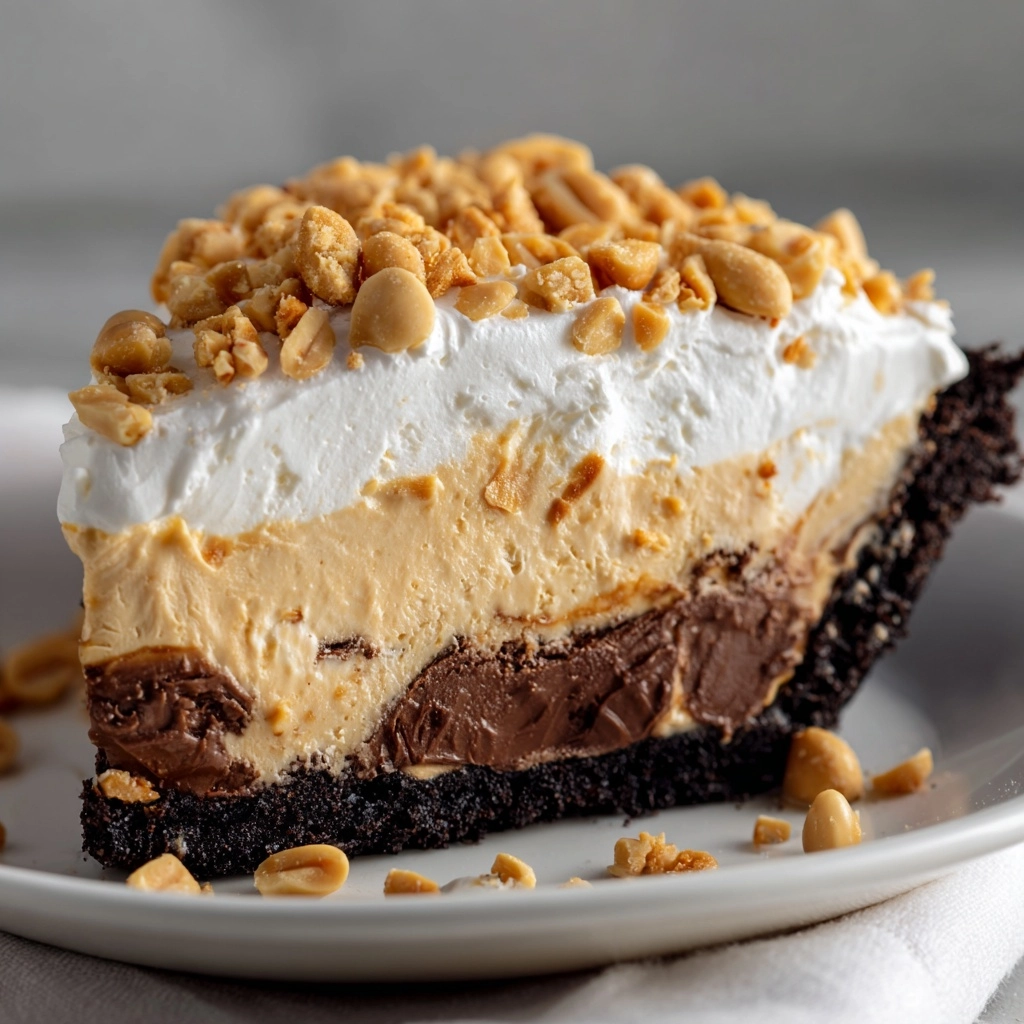
If you are on the lookout for a dessert that brings pure joy with every bite, this Peanut Butter Cream Pie Recipe is about to become your new obsession. Imagine a luscious, velvety filling made with creamy peanut butter and smooth cream cheese nestled in a crisp graham cracker crust — a dream combination. The subtle sweetness is perfectly balanced by the rich texture and a touch of vanilla, topped with fluffy whipped cream and optional crunchy crushed peanuts or chocolate shavings for that little something extra. It’s a no-bake miracle that’s as easy to make as it is impossible to resist.
Ingredients You’ll Need
Getting started on the Peanut Butter Cream Pie Recipe is a breeze with a handful of simple ingredients that work wonders together. Each component has a special role, from creating the silky texture to delivering that iconic peanut butter flavor and adding a hint of sweetness and freshness.
- Prepared graham cracker crust (9-inch): This forms the perfect crunchy base, lending a buttery and slightly sweet foundation to the pie.
- 1 cup creamy peanut butter: The star ingredient packed with that rich, nutty flavor that defines this dessert.
- 8 ounces cream cheese, softened: Adds smoothness and a subtle tang, balancing out the sweetness beautifully.
- 1 cup powdered sugar: Sweetens and lightens the filling while dissolving smoothly for the perfect texture.
- 1 teaspoon vanilla extract: Enhances the overall flavor with its warm, aromatic notes.
- 1 ½ cups heavy whipping cream: Whipped to fluffy perfection, it gives the filling an airy, melt-in-your-mouth quality.
- ¼ cup powdered sugar (for whipped cream): Helps to sweeten and stabilize the whipped cream topping.
- Crushed peanuts or chocolate shavings (optional): Provides delightful texture contrast and an appealing garnish.
How to Make Peanut Butter Cream Pie Recipe
Step 1: Prepare the Creamy Peanut Butter Base
Begin by beating together the softened cream cheese and creamy peanut butter until the mixture is smooth and well combined. This is where that wonderfully rich, creamy texture starts to shine. Next, add in 1 cup of powdered sugar and the vanilla extract. Beat everything until it’s perfectly blended, smooth, and dreamy — this luscious base will bring all the peanut butter magic to life.
Step 2: Whip the Cream to Stiff Peaks
In a separate bowl, whip the heavy whipping cream with ¼ cup powdered sugar until stiff peaks form. This part is key for giving the pie its light, airy texture that will make each slice feel like a cloud of deliciousness. Be careful not to overbeat — you want a firm but tender whipped cream that will blend seamlessly into the peanut butter filling.
Step 3: Fold Whipped Cream into Peanut Butter Mixture
To create the ideal fluffy yet creamy filling, gently fold half of the whipped cream into the peanut butter and cream cheese mixture first. This softens and lightens the dense base. Then, carefully fold in the remaining whipped cream until everything is fully incorporated. Take your time here; a gentle hand preserves the airy texture that’s signature to this pie.
Step 4: Assemble and Chill
Spoon the resulting filling into your prepared graham cracker crust, smoothing the top with a spatula for a polished look. Cover and refrigerate the pie for at least 4 hours — this chilling time is crucial as it allows the filling to set firmly while the flavors meld perfectly together. Patience here will reward you with a slice that holds beautifully and tastes irresistible.
Step 5: Add the Final Touches
Just before serving, top your pie with extra whipped cream and sprinkle crushed peanuts or chocolate shavings for a touch of flair and texture. These garnishes elevate the pie from delicious to show-stopping, making it as pretty as it is scrumptious.
How to Serve Peanut Butter Cream Pie Recipe
Garnishes
While the peanut butter filling is incredible on its own, the little extras make a difference. Fluffy whipped cream adds elegance and smoothness on top, while crushed peanuts bring a delightful crunch that contrasts beautifully with the creamy pie. Chocolate shavings add an indulgent touch that pairs wonderfully with the nutty flavor. These garnishes turn a simple pie into a dessert that feels special and festive.
Side Dishes
Serve this pie alongside a scoop of vanilla ice cream or fresh berries for a refreshing balance. The creamy richness of the pie complements bright, tart fruit exceptionally well. For coffee or tea lovers, a strong espresso or black tea can also cut through the sweetness, making each bite feel even more decadent.
Creative Ways to Present
Feel like stepping up the presentation? Try layering the filling in individual glass cups or jars for mini Peanut Butter Cream Pie servings that are perfect for parties. Drizzle melted chocolate or caramel sauce over the top for added flair. You could also lightly toast the crushed peanuts to add a warm, nutty aroma. Whether plated traditionally or served as creative individual treats, this pie always impresses.
Make Ahead and Storage
Storing Leftovers
Leftover Peanut Butter Cream Pie Recipe keeps beautifully in the refrigerator for up to 4 days. Simply cover the pie tightly with plastic wrap or an airtight lid to maintain freshness and prevent it from absorbing other fridge odors. This makes it a perfect make-ahead dessert for gatherings or whenever a peanut butter craving strikes.
Freezing
If you want to save the pie for later, you can freeze it for up to one month. Wrap it securely in plastic wrap and then foil to protect against freezer burn. When you’re ready to enjoy, thaw it overnight in the fridge. The texture may be slightly different but still delicious and creamy.
Reheating
This pie is best enjoyed chilled, so reheating is generally not recommended. If you’ve frozen it, the best approach is to thaw thoroughly in the refrigerator to preserve its creamy texture. Avoid microwaving as it may cause separation or melting.
FAQs
Can I use crunchy peanut butter instead of creamy?
Absolutely! Using crunchy peanut butter will add extra texture and nuttiness to your pie but keep in mind it might alter the smoothness of the filling slightly. It’s a fun variation if you love a bit of crunch in every bite.
Is this pie suitable for vegetarians?
Yes, this Peanut Butter Cream Pie Recipe is vegetarian-friendly since it doesn’t contain any meat or gelatin. Just be sure to check the ingredients of your graham cracker crust to ensure it meets your dietary preferences.
Can I substitute the graham cracker crust?
Definitely. You can swap the graham cracker crust for a chocolate cookie crust for a richer flavor or even a gluten-free crust if needed. Just make sure any crust you choose is pre-made or baked and cooled before adding the filling.
How do I make the whipped cream stable so it holds longer?
Adding powdered sugar as the recipe suggests helps stabilize the whipped cream. For extra stability, you can add a small amount of cream of tartar or use a commercial whipped cream stabilizer. Chill your bowl and beaters before whipping for best results.
Can I add chocolate to the filling?
Yes! For chocolate lovers, gently folding in some melted and cooled dark chocolate into the peanut butter mixture can create a delightful peanut butter-chocolate swirl. Just remember to let the chocolate set slightly before mixing to avoid melting the whipped cream.
Final Thoughts
This Peanut Butter Cream Pie Recipe is an absolute winner whenever you want a dessert that’s simple to make but incredibly satisfying. With its perfect balance of creamy, nutty flavors and airy texture, it’s sure to become a crowd favorite and a staple in your dessert repertoire. Go ahead, give it a try—you’ll be amazed at how quickly everyone asks for seconds!
Print
Peanut Butter Cream Pie Recipe
- Prep Time: 15 minutes
- Cook Time: 0 minutes
- Total Time: 4 hours 15 minutes
- Yield: 8 slices
- Category: Dessert
- Method: No-Cook
- Cuisine: American
- Diet: Vegetarian
Description
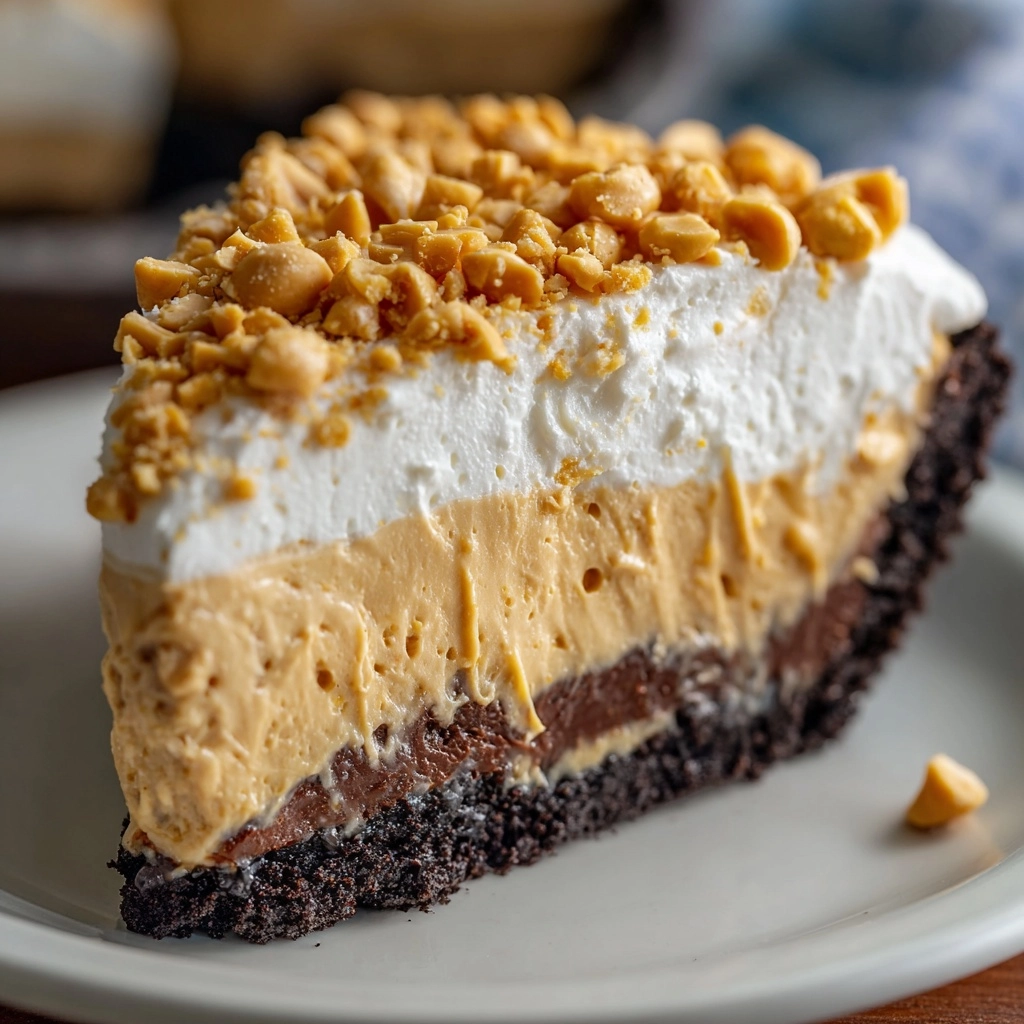
This creamy and luscious Peanut Butter Cream Pie combines a smooth peanut butter and cream cheese filling with a light whipped cream texture, all nestled in a crisp graham cracker crust. Perfect for peanut butter lovers, this no-bake dessert is easy to prepare and chilled to perfection for a satisfyingly rich and indulgent treat.
Ingredients
Crust
- 1 prepared graham cracker crust (9-inch)
Peanut Butter Filling
- 1 cup creamy peanut butter
- 8 ounces cream cheese, softened
- 1 cup powdered sugar
- 1 teaspoon vanilla extract
Whipped Cream
- 1 ½ cups heavy whipping cream
- ¼ cup powdered sugar (for whipped cream)
Toppings (Optional)
- Crushed peanuts or chocolate shavings
Instructions
- Prepare the filling: In a large bowl, beat the softened cream cheese and creamy peanut butter together until the mixture is smooth and creamy. This creates a rich base for the pie.
- Add sweetness and flavor: Mix in 1 cup of powdered sugar and 1 teaspoon of vanilla extract, beating until all ingredients are well combined and the filling is sweetened perfectly.
- Whip the cream: In a separate chilled bowl, whip 1 ½ cups heavy whipping cream with ¼ cup powdered sugar until stiff peaks form, ensuring the whipped cream is light and holds its shape.
- Incorporate whipped cream: Gently fold half of the whipped cream into the peanut butter mixture to lighten the texture, then fold in the remaining whipped cream carefully until fully incorporated, maintaining the airy consistency.
- Assemble the pie: Spoon the creamy filling into the prepared graham cracker crust. Spread evenly and smooth the top with a spatula.
- Chill: Refrigerate the assembled pie for at least 4 hours or until firm to allow the flavors to meld and the filling to set properly.
- Finish and serve: Just before serving, optionally top the pie with additional whipped cream, crushed peanuts, or chocolate shavings for added texture and visual appeal. Slice the pie and serve chilled.
Notes
- For extra richness and decoration, drizzle melted chocolate or caramel sauce over each slice before serving.
- You can substitute the graham cracker crust with a chocolate cookie crust to add a deeper flavor contrast.
- Store leftover pie covered tightly in the refrigerator for up to 4 days to maintain freshness and texture.

