
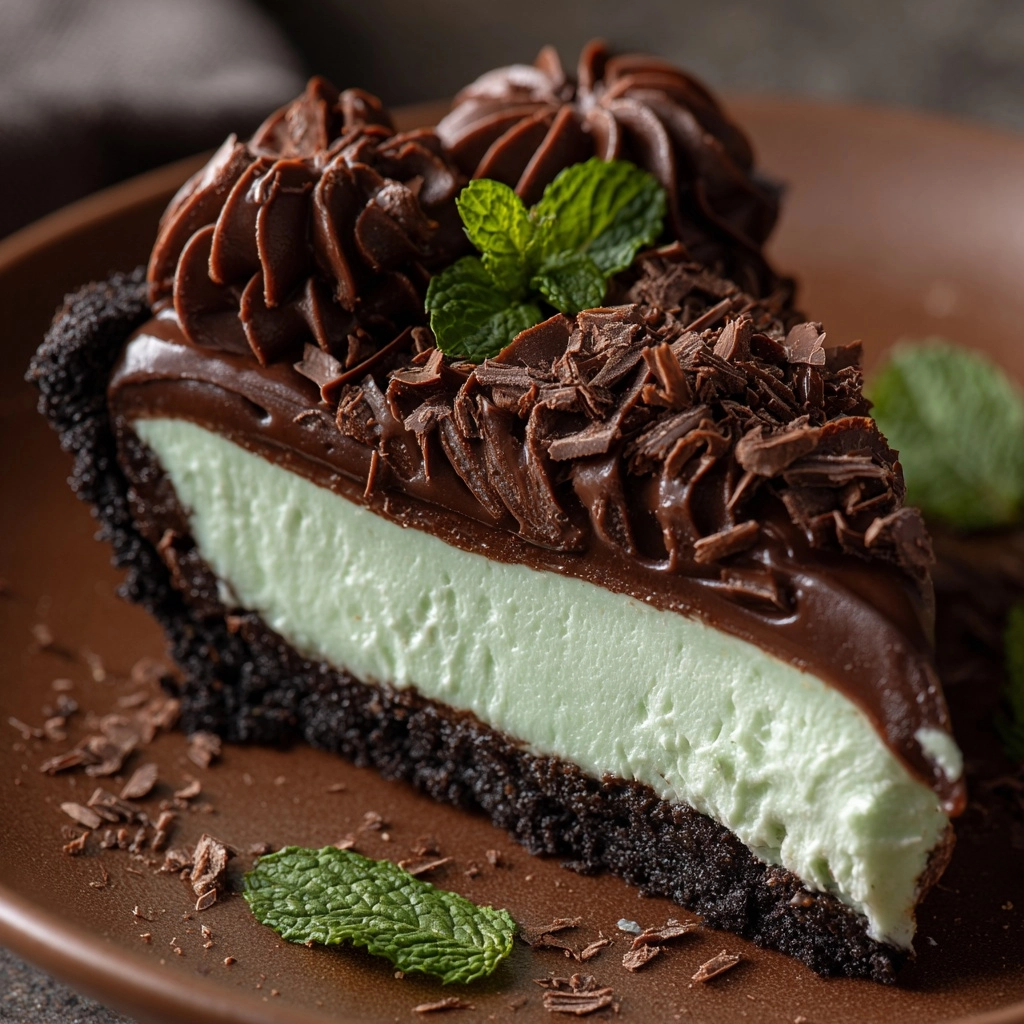
If you’re on the hunt for a dessert that effortlessly combines the rich decadence of chocolate with the refreshing zing of mint, this Chocolate Mint Pie Recipe is an absolute must-try. It’s a delightful no-bake treat that’s creamy, luscious, and surprisingly simple to make—the kind of pie that turns everyday moments into celebrations and holiday tables into festive gatherings. The chocolate cookie crust adds a satisfying crunch, while the mint-infused filling strikes the perfect balance between sweet and cool. Trust me, once you take a bite, this pie will steal the spotlight as your new favorite dessert.
Ingredients You’ll Need
Gathering the right ingredients is the first step to nailing this pie. Each component plays an essential role in delivering the perfect texture, flavor, and visual appeal that make this dessert such a standout. You’ll see how the creamy layers and minty freshness come together to create a slice that’s as beautiful as it is delicious.
- Pre-made chocolate cookie crust (9-inch): Provides a sturdy, chocolaty base with a satisfying crunch.
- Cream cheese (8 oz, softened): Adds a silky, tangy richness that balances the sweetness perfectly.
- Powdered sugar (½ cup): Sweetens the filling smoothly without any graininess.
- Peppermint extract (1 ½ tsp): Delivers that signature minty freshness that brightens every bite.
- Heavy cream (1 ½ cups): Whipped into a cloud-like texture to make the pie incredibly light and creamy.
- Semi-sweet chocolate chips (1 cup): Melted and folded in for deep chocolate flavor and smoothness.
- Whipped topping (1 ½ cups plus extra): Enhances the creaminess and is perfect for garnishing.
- Green food coloring (optional): Just a few drops bring a pretty minty hue without altering the taste.
- Crushed mint chocolates or chocolate shavings: Adds a beautiful, textured finishing touch.
How to Make Chocolate Mint Pie Recipe
Step 1: Melt the Chocolate
Start by heating ½ cup of the heavy cream in a small saucepan just until it begins to simmer. Pour this hot cream over the chocolate chips in a bowl, let it rest for a couple of minutes to melt the chocolate, then stir gently until you have a smooth, glossy chocolate ganache. Set this aside to cool, but don’t refrigerate – we want it silky, not firm yet.
Step 2: Prepare the Cream Cheese Mixture
In a large bowl, beat the softened cream cheese with the powdered sugar until the texture is smooth and fluffy. This base is what gives our pie that rich, creamy structure. Then, stir in the peppermint extract and, if you like, a few drops of green food coloring to give the filling a festive pop of color reminiscent of cool mint leaves.
Step 3: Whip the Heavy Cream
In a separate bowl, whip the remaining 1 cup of heavy cream until stiff peaks form. This step is crucial because folding in the whipped cream lightens the dense cream cheese mixture, making the pie wonderfully airy and smooth. Work gently here to keep that perfect fluffiness intact.
Step 4: Combine Everything
Gently fold the whipped cream into the cream cheese and peppermint mixture until everything is well blended. Next, stir in the cooled melted chocolate, folding carefully to incorporate the ganache evenly throughout the filling. The result is a luscious, velvety chocolate mint filling that’s ready to fill our crust.
Step 5: Assemble and Chill
Spoon the rich filling into your chocolate cookie crust and smooth the top with a spatula for a beautiful finish. Pop the pie into the refrigerator and let it chill for at least 4 hours or until firm. This resting time is key to allow all the flavors to meld beautifully and the filling to set just right.
How to Serve Chocolate Mint Pie Recipe

Garnishes
When it’s time to serve, don’t be shy—pile on extra whipped topping for a fluffy crown. Scatter crushed mint chocolates or delicate chocolate shavings on top for both an eye-catching look and a delightful texture contrast. These garnishes elevate the pie’s presentation and add bursts of minty and chocolate goodness in every bite.
Side Dishes
This pie pairs wonderfully with fresh fruit like raspberries or sliced strawberries, whose natural tartness cuts through the richness and refreshes the palate. For a heartier spread, consider serving alongside vanilla bean ice cream—two cool treats that create a truly indulgent dessert experience.
Creative Ways to Present
If you’re feeling festive, try serving mini versions of this pie in ramekins or small dessert glasses for an elegant twist. Layer whipped cream and crumbled crust between the filling for a parfait style treat that’s visually stunning and just as delicious. Adding a sprig of fresh mint on top adds a fresh aroma and a pop of greenery that looks wonderful.
Make Ahead and Storage
Storing Leftovers
Leftover Chocolate Mint Pie keeps beautifully in the fridge for up to 3 days. Cover it tightly with plastic wrap or store in an airtight container to maintain its creamy texture and prevent it from absorbing other fridge odors.
Freezing
If you want to prepare this pie ahead of time, it freezes well for up to 1 month. Wrap it securely in foil and plastic wrap to prevent freezer burn. When ready to eat, thaw overnight in the refrigerator for the best texture and flavor.
Reheating
This pie is best enjoyed chilled and does not require reheating. Serving it straight from the fridge ensures that you get that perfect creamy consistency and refreshing mint flavor every single time.
FAQs
Can I make this Chocolate Mint Pie Recipe vegan?
Traditional ingredients like cream cheese and heavy cream make this recipe non-vegan, but you can experiment with vegan cream cheese and coconut cream substitutes to create a similar texture and flavor. Just note the taste will vary slightly.
Is peppermint extract necessary, or can I use fresh mint?
Peppermint extract provides a concentrated mint flavor that really shines in this pie. Fresh mint leaves can be infused into the cream before mixing, but expect a subtler, less intense mintiness.
Can I use a homemade crust instead of a pre-made one?
Absolutely! A homemade chocolate cookie crust or even a chocolate graham cracker crust would work beautifully. Just ensure it’s well chilled before filling so it holds up well with the no-bake filling.
How long should I chill the pie before serving?
Chilling for at least 4 hours is ideal, but overnight chilling enhances the flavors even more and sets the filling perfectly for clean slicing.
Can I add more chocolate to the pie?
Definitely! For an extra-chocolatey version, try swirling in additional melted chocolate into the filling before chilling, or sprinkle chocolate shavings inside the pie layers.
Final Thoughts
If you love the combination of chocolate and mint as much as I do, the Chocolate Mint Pie Recipe is going to become a dessert staple in your kitchen. It’s exceptionally easy to throw together, yet feels special enough for any celebration or cozy night in. Don’t wait for a holiday to dig into this creamy, dreamy pie—give it a try and watch it disappear one delicious slice at a time!
Print
Chocolate Mint Pie Recipe
- Prep Time: 15 minutes
- Cook Time: 0 minutes
- Total Time: 4 hours 15 minutes
- Yield: 8 servings
- Category: Dessert
- Method: No-Cook
- Cuisine: American
- Diet: Vegetarian
Description
A luscious and refreshing Chocolate Mint Pie featuring a creamy chocolate and peppermint filling set in a crunchy chocolate cookie crust. This no-bake dessert perfectly balances rich chocolate flavors with a cool minty kick, making it an ideal treat for holidays and special occasions.
Ingredients
Crust
- 1 pre-made chocolate cookie crust (9-inch)
Filling
- 1 (8 oz) package cream cheese, softened
- ½ cup powdered sugar
- 1 ½ tsp peppermint extract
- 1 ½ cups heavy cream, divided
- 1 cup semi-sweet chocolate chips
- 1 ½ cups whipped topping (plus extra for garnish)
- Green food coloring (optional)
Topping
- Crushed mint chocolates or chocolate shavings for garnish
Instructions
- Melt Chocolate Ganache: In a small saucepan, gently heat ½ cup of heavy cream until it just begins to simmer. Remove from heat immediately and pour the hot cream over the semi-sweet chocolate chips in a bowl. Let it sit undisturbed for 1–2 minutes to soften the chocolate, then stir carefully until smooth and glossy. Set aside to cool to room temperature.
- Prepare Cream Cheese Mixture: In a large mixing bowl, beat the softened cream cheese with powdered sugar using an electric mixer until the mixture is smooth, creamy, and fluffy. Add the peppermint extract and a few drops of green food coloring if desired, and mix until evenly combined.
- Whip Heavy Cream: In a separate clean bowl, whip the remaining 1 cup of heavy cream until stiff peaks form. This will add lightness to the pie filling.
- Combine Mixtures: Gently fold the whipped cream into the cream cheese mixture to maintain its airy texture. Next, stir in the cooled chocolate ganache, folding everything together until the filling is uniform in color and texture.
- Assemble Pie: Spoon the combined filling into the pre-made chocolate cookie crust. Use a spatula to smooth the top evenly and neatly.
- Chill: Refrigerate the assembled pie for at least 4 hours, allowing it to set firmly and develop flavors.
- Garnish and Serve: Before serving, decorate the pie with extra whipped topping and sprinkle crushed mint chocolates or chocolate shavings on top for an attractive and flavorful finish.
Notes
- Use peppermint extract sparingly as it has a strong flavor to avoid overpowering the pie.
- For an extra-rich chocolate layer, swirl additional melted chocolate into the filling before chilling.
- This pie can be prepared 1–2 days ahead, making it perfect for holiday gatherings.


