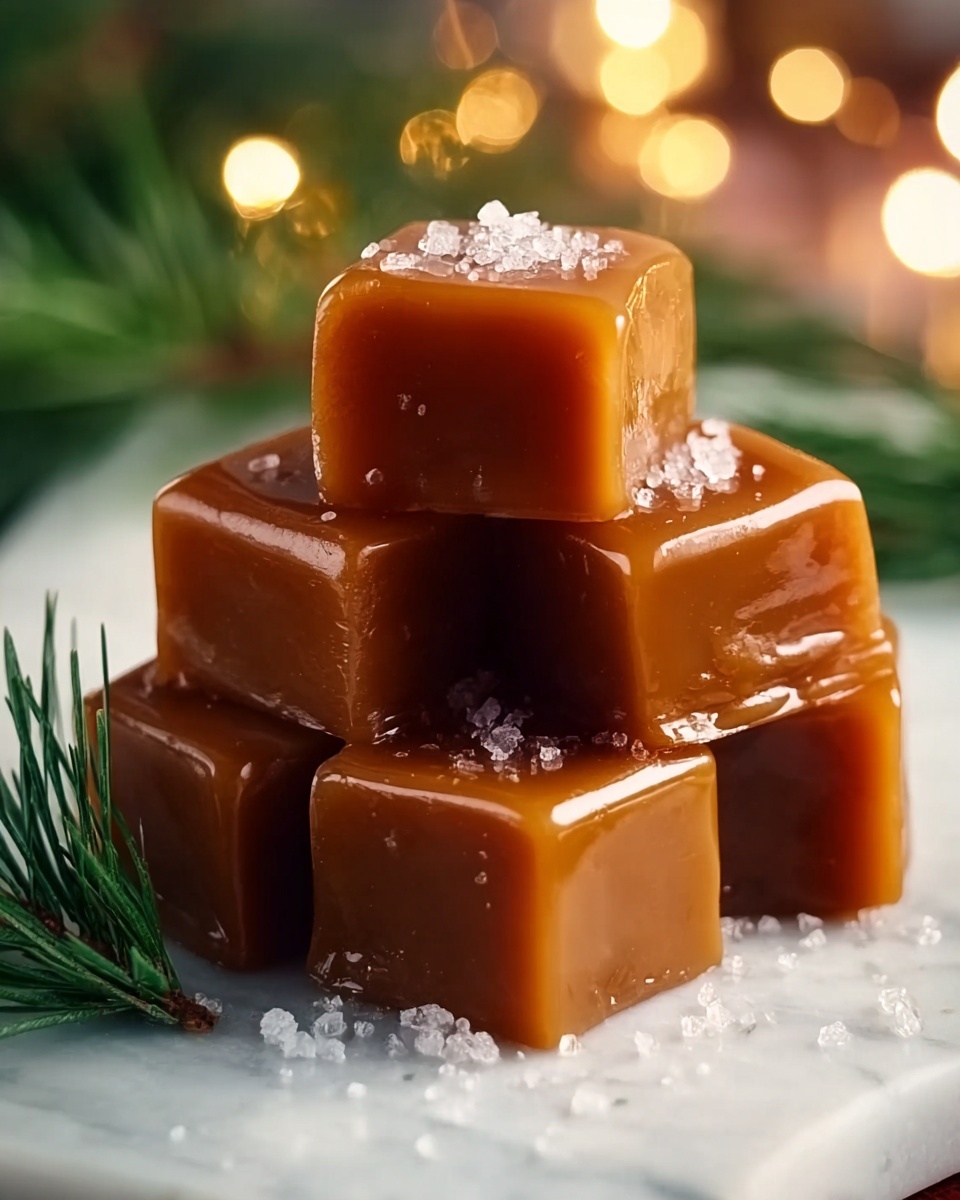
If you’ve ever dreamed of wrapping up the perfect sweet gift or simply craving a melt-in-your-mouth treat that feels like holiday magic, this Homemade Christmas Caramels Recipe is your new best friend. Bursting with creamy, buttery richness and just the right touch of sweetness, these caramels are a festive classic that bring joy with every bite. Whether you’re making them to share, gift, or savor all by yourself, you’ll quickly see why this recipe becomes a treasured tradition year after year.
Ingredients You’ll Need
The magic of this Homemade Christmas Caramels Recipe lies in its simplicity. Every ingredient plays a crucial role—from the butter that provides creaminess to the brown sugar delivering deep caramel notes. The light corn syrup ensures smooth texture and prevents crystallization, while the sweetened condensed milk adds that luscious thickness that makes these caramels irresistible.
- Unsalted butter: Choose high-quality butter for a rich, creamy base without any unwanted saltiness.
- Brown sugar: Packed and dark for that deep molasses flavor and beautiful caramel color.
- Light corn syrup: Helps maintain smoothness and prevents sugar crystals from forming.
- Sweetened condensed milk: Adds luscious creaminess and sweetness in perfect harmony.
- Vanilla extract: A splash of vanilla enhances all the caramel flavors for warmth.
- Salt: Just a pinch to balance sweetness and bring out depth.
- Optional sea salt: For sprinkling on top to add a delightful salty-sweet crunch.
How to Make Homemade Christmas Caramels Recipe
Step 1: Prepare Your Pan
Begin by lining an 8×8 inch baking pan with parchment paper, making sure there is some overhang on the sides to easily lift out the caramel block later. Lightly grease the parchment with butter so the caramel won’t stick and you’ll have perfect edges when it’s time to slice.
Step 2: Melt the Butter
In a large saucepan over medium heat, melt the butter slowly without letting it brown. This step is key to preserving the buttery flavor without creating any bitterness, so patience here really pays off.
Step 3: Combine the Key Ingredients
Once the butter is melted, stir in the brown sugar, light corn syrup, sweetened condensed milk, and salt. Mix everything together evenly so the sugar dissolves a bit before you start heating further—this helps with smooth caramel formation later.
Step 4: Cook to Perfection
Turn up the heat and gently bring the mixture to a boil. Lower the heat to medium-low and attach a candy thermometer. Stir continuously as the mixture cooks and keep an eye on the temperature—when it hits 245°F (118°C), you’re right at the perfect caramel stage known as the firm ball stage, where it will set up beautifully once cooled.
Step 5: Add Vanilla
Remove the pan from heat and stir in the vanilla extract. This quick addition adds a lovely, aromatic depth that lifts the caramel beyond just sweet and buttery.
Step 6: Pour and Cool
Pour the hot caramel mixture into your prepared pan, smoothing it out into an even layer with a spatula. Let it cool to room temperature, which usually takes at least two hours. Be patient and don’t rush this step; proper cooling is how you get that perfect chewy texture.
Step 7: Cut into Squares
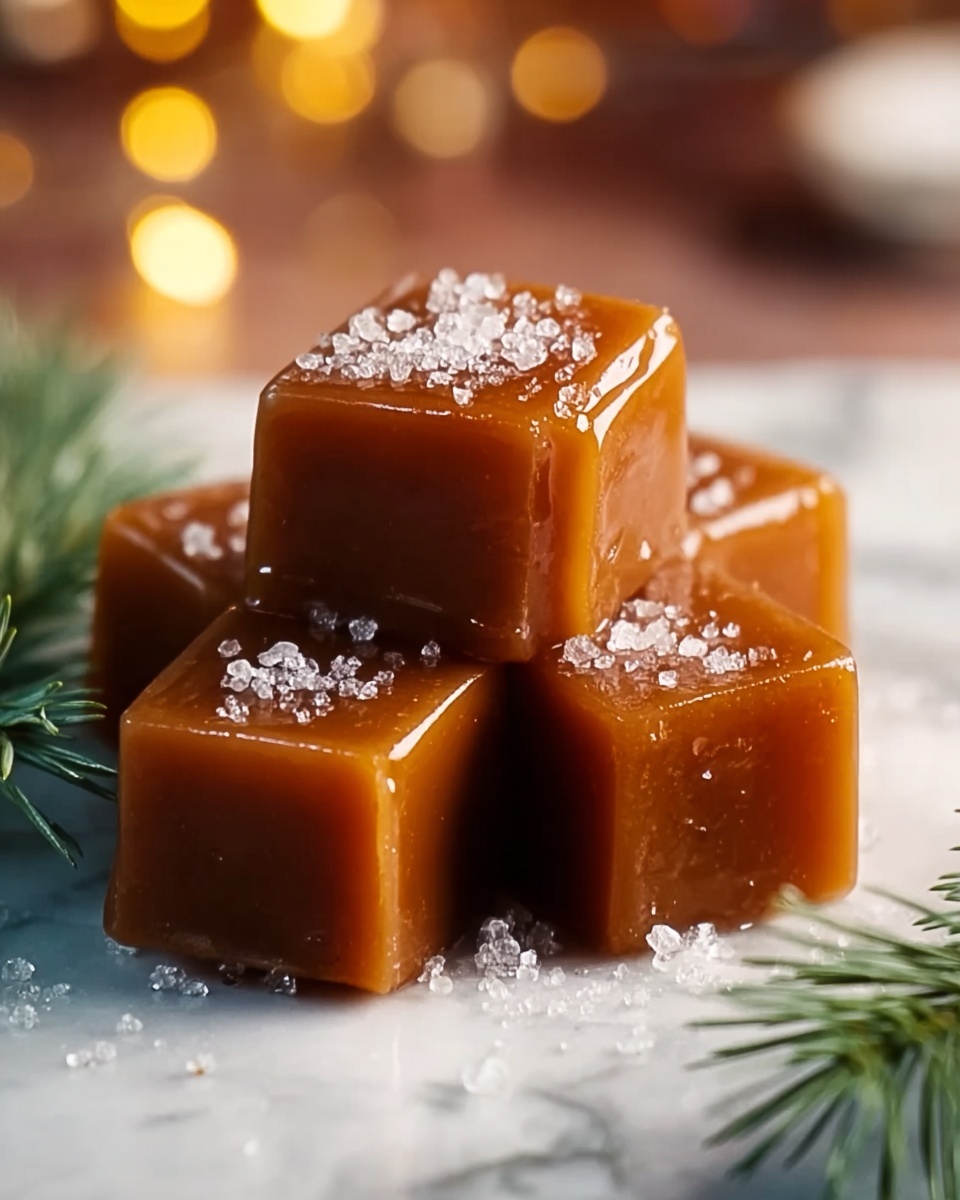
Use the parchment overhang to lift out the caramel block. With a sharp knife, cut into small squares—about bite-size or slightly larger depending on your taste. This is when your kitchen will start smelling like holiday heaven.
Step 8: Optional Sea Salt Finishing Touch
Before the caramels are completely set, sprinkle sea salt on top for a sophisticated salty-sweet balance that’ll wow your taste buds. This little extra step instantly adds that gourmet touch.
How to Serve Homemade Christmas Caramels Recipe
Garnishes
For a festive presentation, consider wrapping each caramel in wax paper or tying a tiny ribbon around them. You could also dust with a sprinkle of cocoa powder or finely chopped nuts for added texture and appearance.
Side Dishes
Serve these caramels alongside a warm cup of coffee, tea, or even a glass of rich red wine. Their chewy sweetness pairs wonderfully with beverages that cleanse the palate and complement the buttery notes.
Creative Ways to Present
These caramels make delightful gifts packaged in decorative tins or mason jars. Layer them with fresh cranberries or sprigs of rosemary for a truly festive flair. You could even use them as edible decorations on holiday dessert platters for a charming touch.
Make Ahead and Storage
Storing Leftovers
Keep any extra homemade Christmas caramels in an airtight container at room temperature, wrapped individually in wax or parchment paper. This will keep them soft and fresh for up to two weeks—perfect for nibbling or gifting throughout the season.
Freezing
You can freeze caramels by wrapping each piece tightly and placing them in a freezer-safe container. When stored properly, they’ll keep their texture and flavor for up to three months. Thaw at room temperature before serving for the best experience.
Reheating
Caramels don’t typically require reheating, but if they firm up too much, gently warm them wrapped in wax paper in your hands or a microwave for a few seconds to bring back that chewy softness without melting them completely.
FAQs
Can I use salted butter instead of unsalted in this recipe?
While you can use salted butter, it’s best to stick to unsalted to control the overall salt balance in the caramels. Using salted butter might make your caramels saltier than intended, especially if you add sea salt on top.
What if I don’t have a candy thermometer? How can I tell when it’s done?
Though a candy thermometer is ideal for precision, without it, you can test the caramel by dropping a small amount into cold water. If it holds its shape but is pliable, it’s at the perfect firmness. This is called the “soft ball stage.”
Can I add flavors like peppermint or espresso to the caramels?
Absolutely! Replacing or adding vanilla with peppermint extract or a spoonful of instant espresso powder can give your Homemade Christmas Caramels Recipe a fun twist. Just be sure to add these after removing the caramel from heat.
Why is my caramel grainy or crystallized?
Graininess usually means that sugar crystals formed during cooking. Stirring too much at high heat or using non-corn syrup sweeteners can cause this. Using light corn syrup and following the temperature carefully helps keep your caramels smooth.
Can I make these caramels dairy-free?
It’s tricky because the sweetened condensed milk and butter provide key creaminess. There are dairy-free substitutes available, but results may vary. Experiment with coconut milk condensed versions and vegan butters if needed, but expect a slightly different texture.
Final Thoughts
This Homemade Christmas Caramels Recipe is one of those decadent classics that never fails to impress. With just a handful of simple ingredients and straightforward steps, you can create tender, buttery caramels perfect for gifting or indulging yourself. So go ahead—roll up your sleeves, bring some warmth to your kitchen, and give this delightful treat a try. I promise, once you taste one, you’ll be hooked for every holiday season to come!
Print
Homemade Christmas Caramels Recipe
- Prep Time: 10 minutes
- Cook Time: 20 minutes
- Total Time: 2 hours 30 minutes
- Yield: Approximately 64 small caramels
- Category: Dessert
- Method: Stovetop
- Cuisine: American
Description
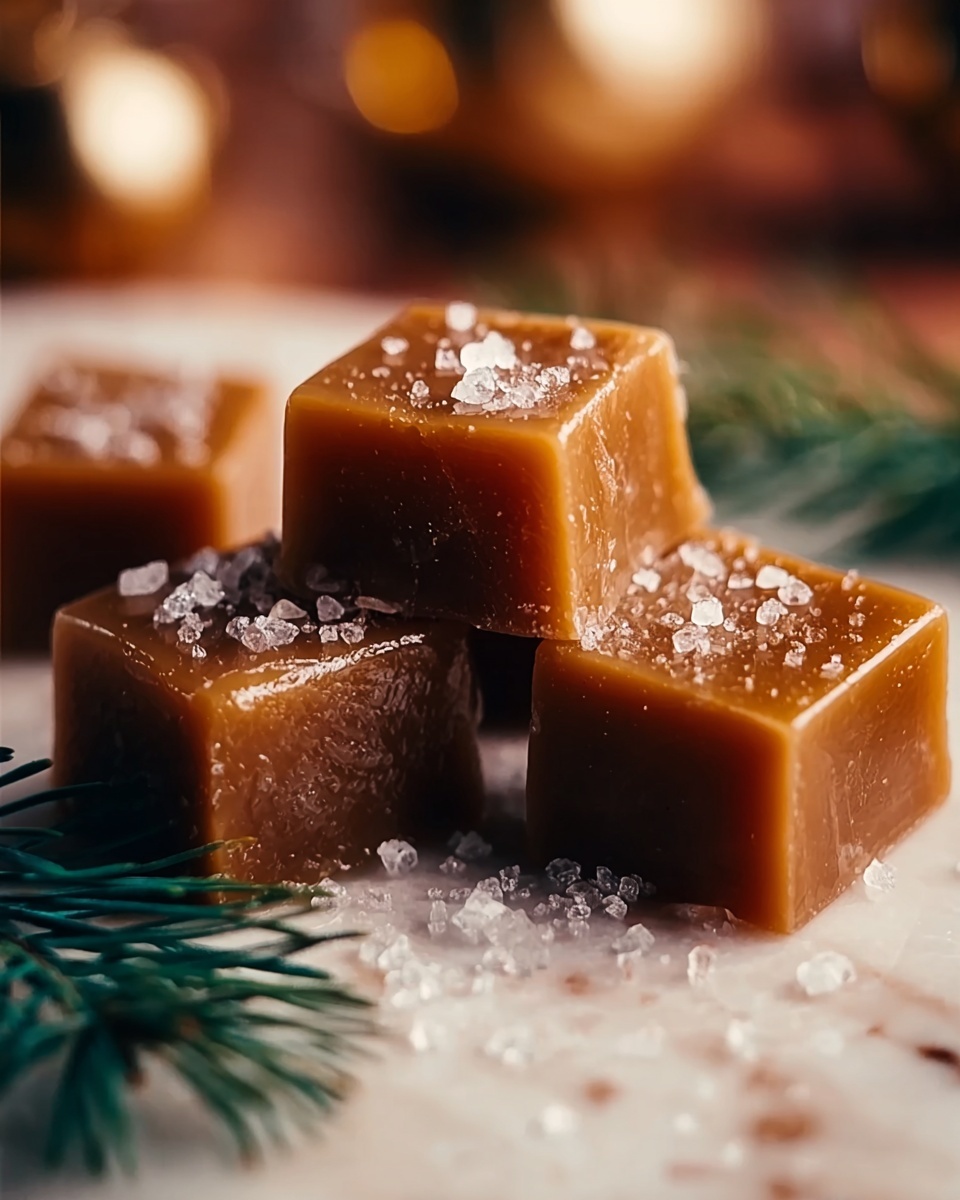
These homemade Christmas caramels are rich, buttery, and perfectly chewy treats made with brown sugar, butter, corn syrup, and sweetened condensed milk. With a hint of vanilla and an optional sprinkle of sea salt, they are an irresistible holiday candy that’s easy to prepare and sure to delight family and friends.
Ingredients
Caramel
- 1 cup unsalted butter
- 2 1/4 cups packed brown sugar
- 1 cup light corn syrup
- 1 (14 oz) can sweetened condensed milk
- 1 teaspoon vanilla extract
- 1/4 teaspoon salt
Optional
- Sea salt for sprinkling on top
Instructions
- Prepare the pan: Line an 8×8 inch baking pan with parchment paper, allowing an overhang on all sides to easily lift out the caramel later. Lightly grease the parchment with butter to prevent sticking.
- Melt the butter: In a large saucepan, melt the unsalted butter over medium heat without letting it brown. This step ensures a smooth base for the caramel.
- Add remaining ingredients: Stir in the brown sugar, light corn syrup, sweetened condensed milk, and salt into the melted butter, mixing until fully combined.
- Cook the caramel: Increase heat and bring the mixture to a gentle boil. Then reduce to medium-low and attach a candy thermometer. Continuously stir as it cooks until the mixture reaches 245°F (118°C), which is the firm ball stage perfect for chewy caramels.
- Flavor and pour: Remove the saucepan from heat, stir in the vanilla extract for enhanced flavor, and immediately pour the hot caramel into the prepared pan. Spread it evenly using a spatula.
- Cool and set: Allow the caramel to cool and set at room temperature for at least 2 hours until firm enough to cut.
- Cut and finish: Lift the caramel slab out of the pan using the parchment overhang. Cut into approximately 64 small squares. Optionally, sprinkle sea salt on top before the caramels are completely set for a delightful contrast.
Notes
- Use a candy thermometer to ensure accurate temperature and avoid over or undercooking.
- For easiest cutting, let caramels set fully at room temperature; refrigerating can make them too hard.
- Store caramels in an airtight container at room temperature to maintain softness for up to two weeks.
- Sea salt is optional but adds a wonderful flavor contrast.


